Products and product variants
After the general settings, suppliers, data hub and data model configuration (custom fields, attributes and tags), you can starting adding products and their variants.
We recommend configuring and adding a sample of your products in the testing environment before making changes in the production environment, especially if your e-commerce website is already live.
Set up the DAM
DAM (Digital Asset Management) refers to the software used to process your product's images.
Before importing products and product variants, it is important to define the processing rules for your images (export format, cropping rules...) to process your images the same way, and get a homogeneous result for your website.
Reprocessing images on a live website requires deleting all of them and re-running the process.
Click Settings → Catalog and offer management → Product images management.
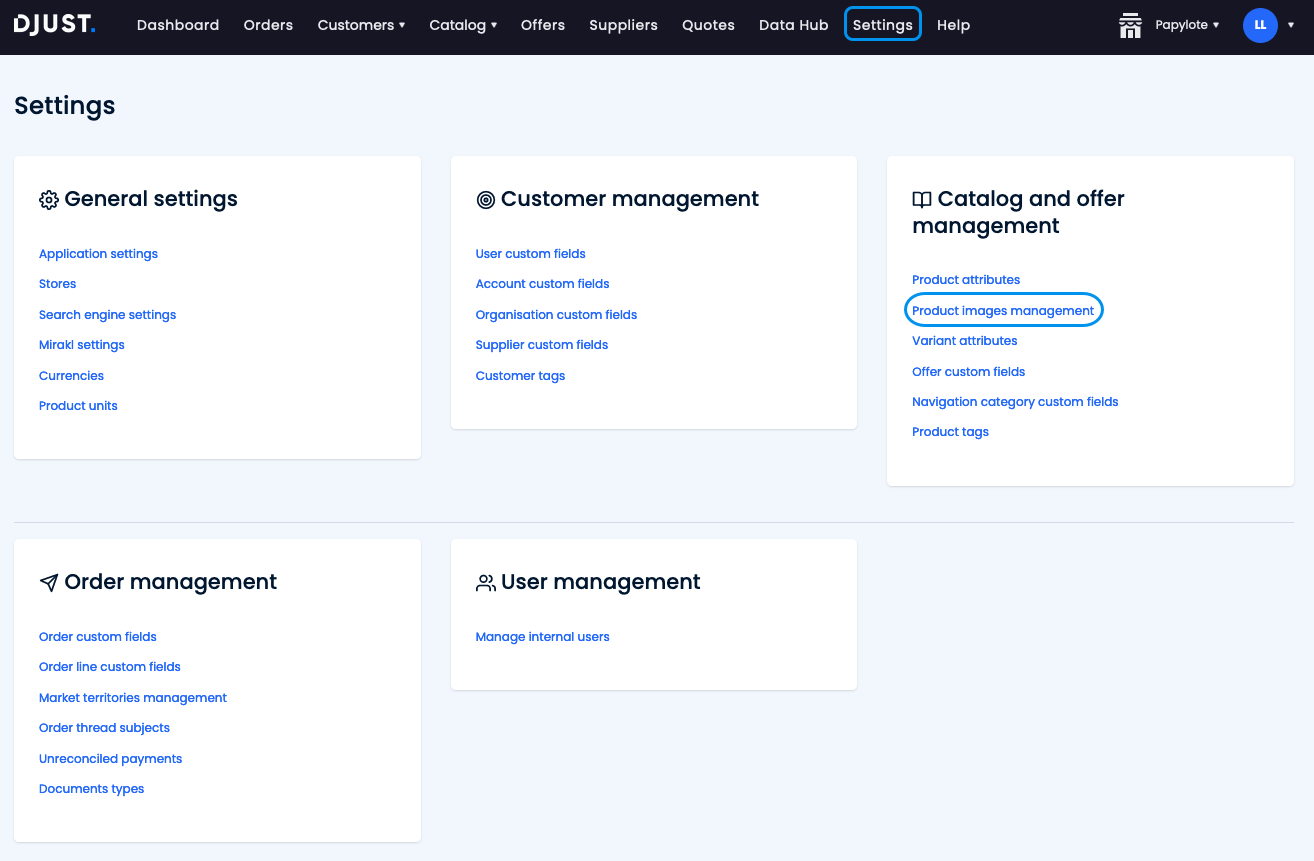
Select the image export format (WEBP, JPG, GIF, PNG).
Configure the different sizes. DJUST recommends using the CROP_AUTO option. This allows DJUST to get your images, resize them, create a miniature for the research page and create a bigger picture for the product main page. Click Add to add more sizes.

Click Save.
Create product units
Products in your catalog might require to be described by measurement units (e.g. laundry may have a price per liter, tiles may have a price per square meters...).
These units can be configured and additional measurement can be added.
Click Settings → General settings → Product units.

Click + Add product unit.

Select a type (Weight, Volume, Length, Area (Metric/Imperial)) and a unit.
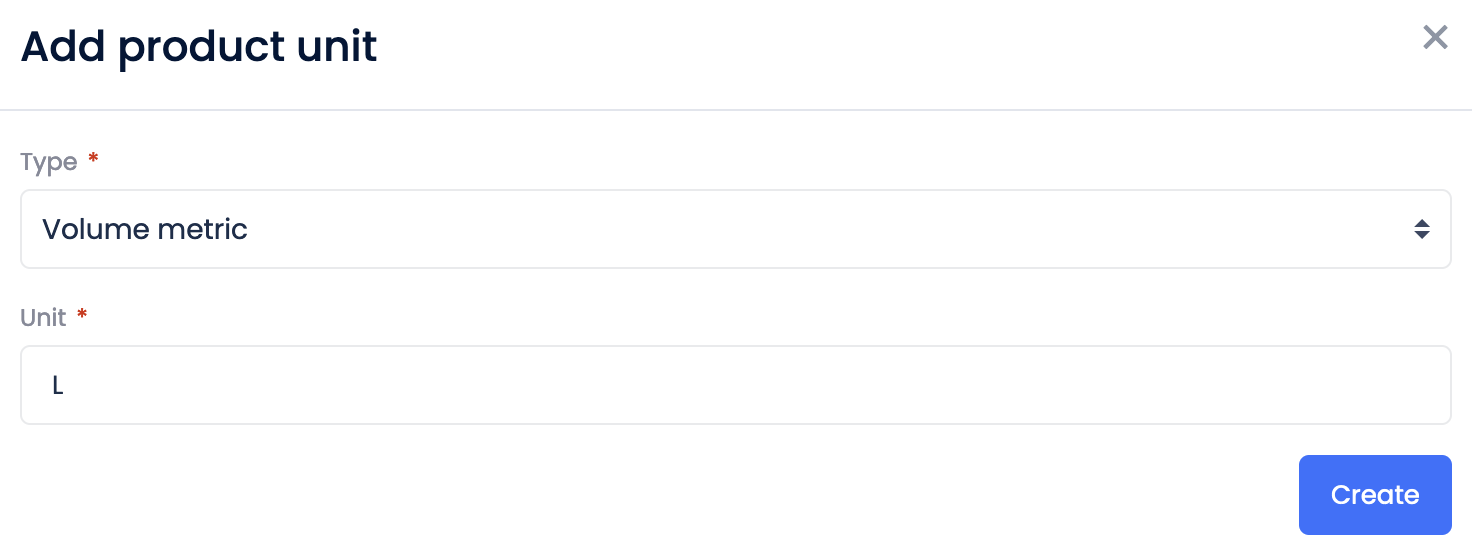
Click Create. The unit is immediately available in your DJUST back office.
Add product and variants
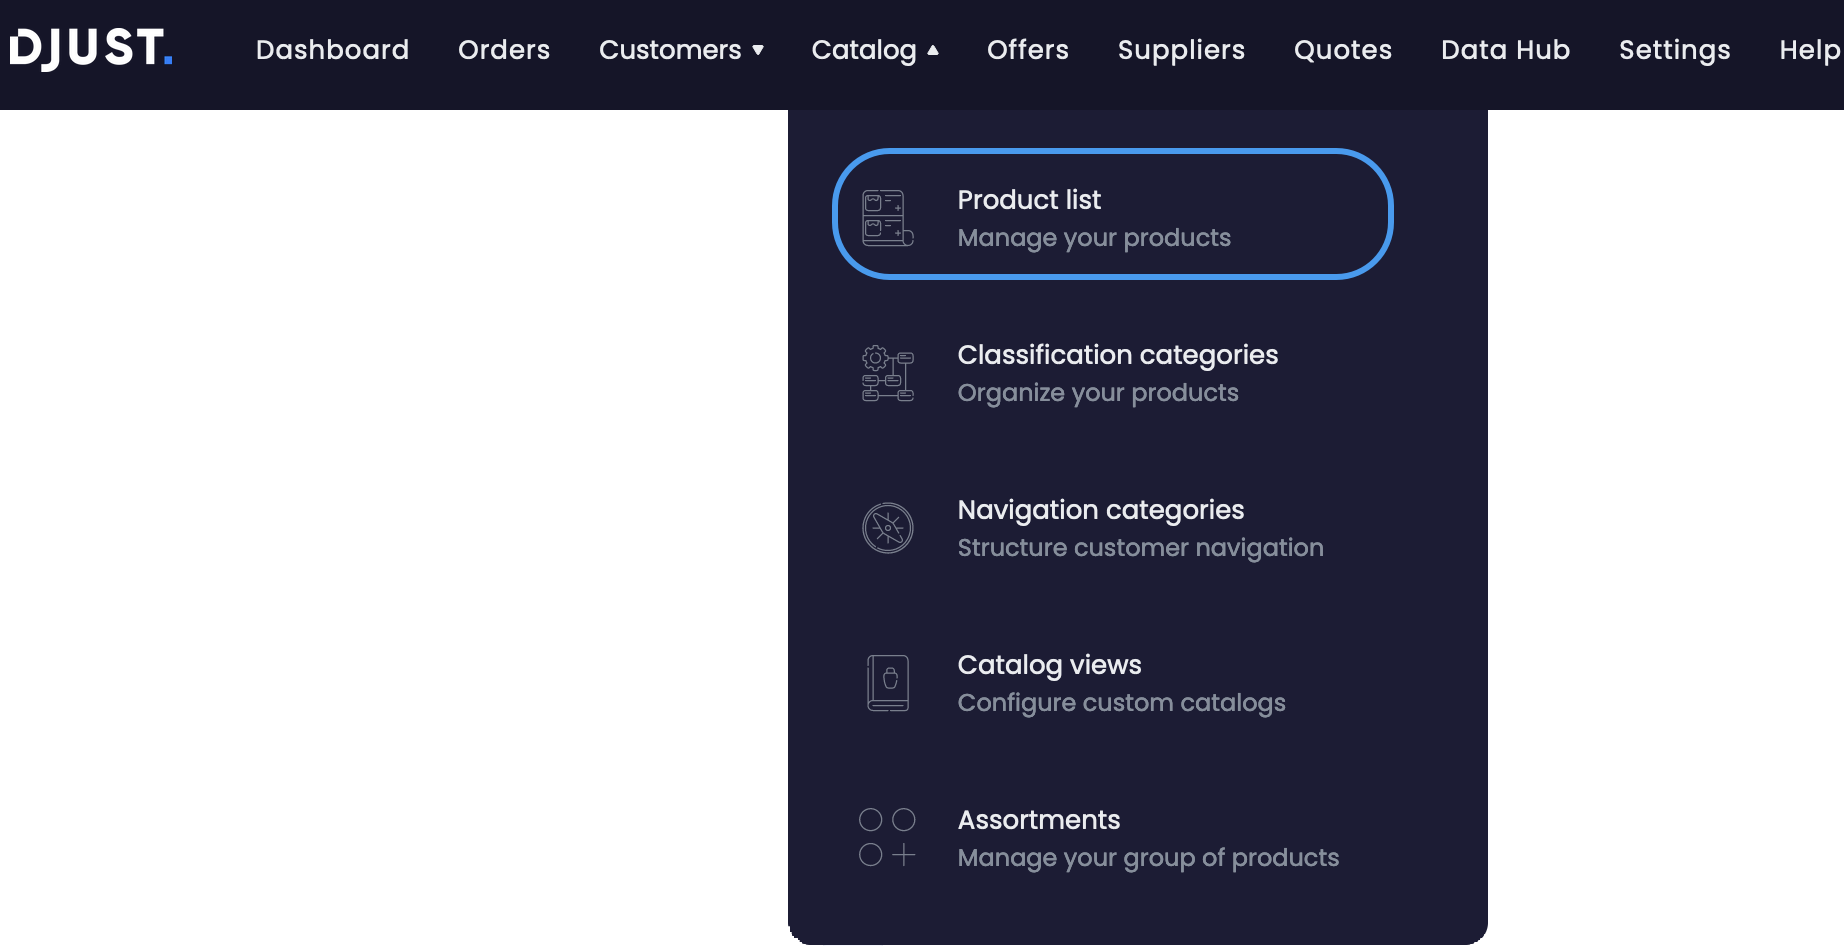
Click Catalog → Product list.
Click + Add product and fill in the fields:
- Product name and description (to translate in other languages if needed)
- External ID
- Brand (optional)
- Item unit (optional)
- Select a classification category

Click Next step. The Create product variant screen appears.
Fill in the fields:
- Variant name
- Description (optional)
- External ID
- UPC/EAN/GTIN (optional)
- MPN (optional)
- Pictures (optional)
- Variant attributes (optional)
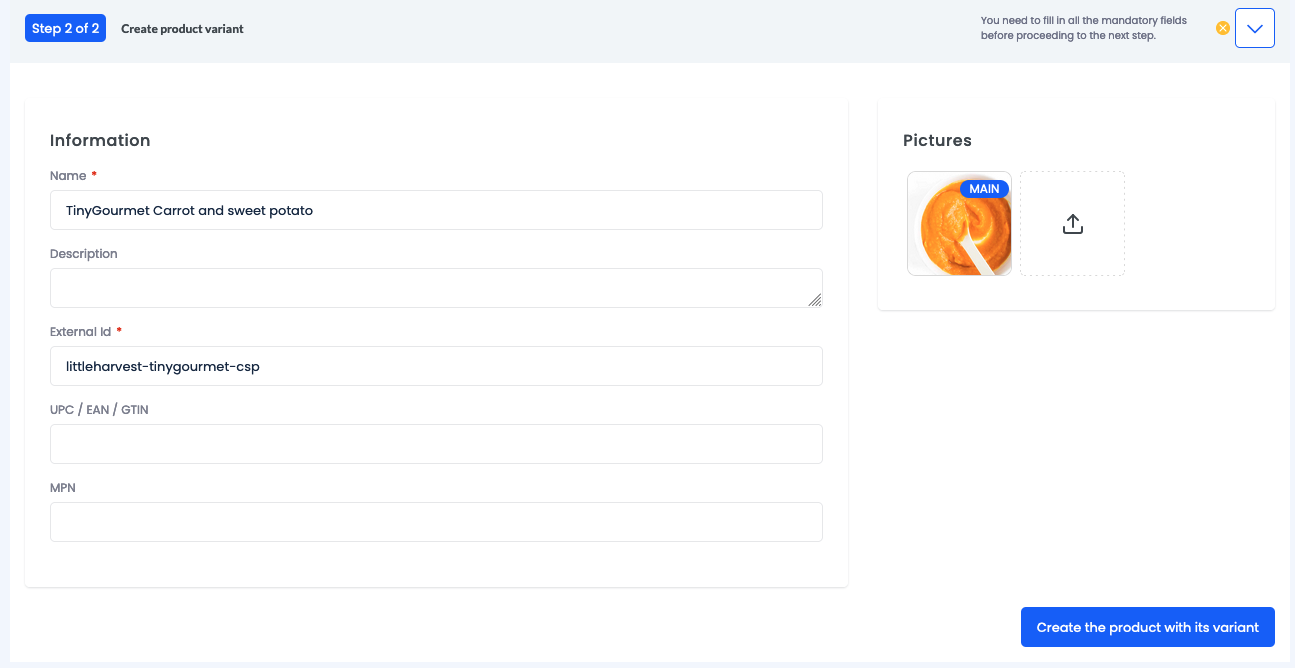
Click Create the product with its variant. Created products' status is automatically set to New.
Your product appears in the list and can be edited or deleted from here. Add more variants to your products anytime by clicking on your product in the list, scrolling down to the Variant section, and clicking Add variants.
The navigation category is automatically set thanks to the classification. Refer to the navigation category topic for more information.
Settings exist for new products to be visible on your website immediately (if an offer is associated), or to manually activate each new product. Contact DJUST for more information.
Import products and variants
Import products and variants by using the Data Hub.
They can be imported in DJUST using an FTP client and a .csv file, or using our API connector.
Refer to the Data hub section for more information.
Add related products (optional)
Related products allow for products to be displayed in association with other products. This is useful to create product bundles.
The products to associate must be created prior to this procedure.
Click Catalog → Product list.
Select the product for which to add a related one.
In the Related products section at the bottom of the page, select a product in the list and click + Add product.

Related products can also be imported from your existing systems.
The product's association is not automatic and needs to be specified in the
product .csv file you import into DJUST. In order to associate products
together, there must be a mention of product 1 in the line of product 2 (in the
file), and vice-versa.
| Product name | Related product |
|---|---|
| Heavy Duty Paint | Heavy Duty Brush |
| Heavy Duty Brush | Heavy Duty Paint |
Refer to the importation topic for more information.
Add product tags (optional)
Click Catalog → Product list.
Select the product to tag.
In the Tags section, select a previously created tag from the list.
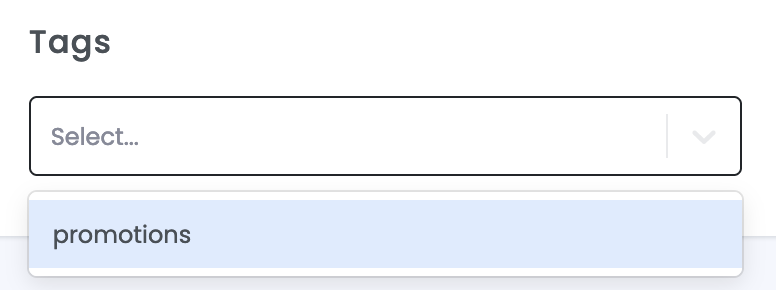
Click Save.
Products with tags can also be imported from your existing systems. Refer to the importation topic for more information.
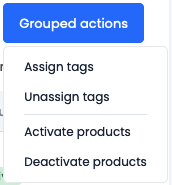
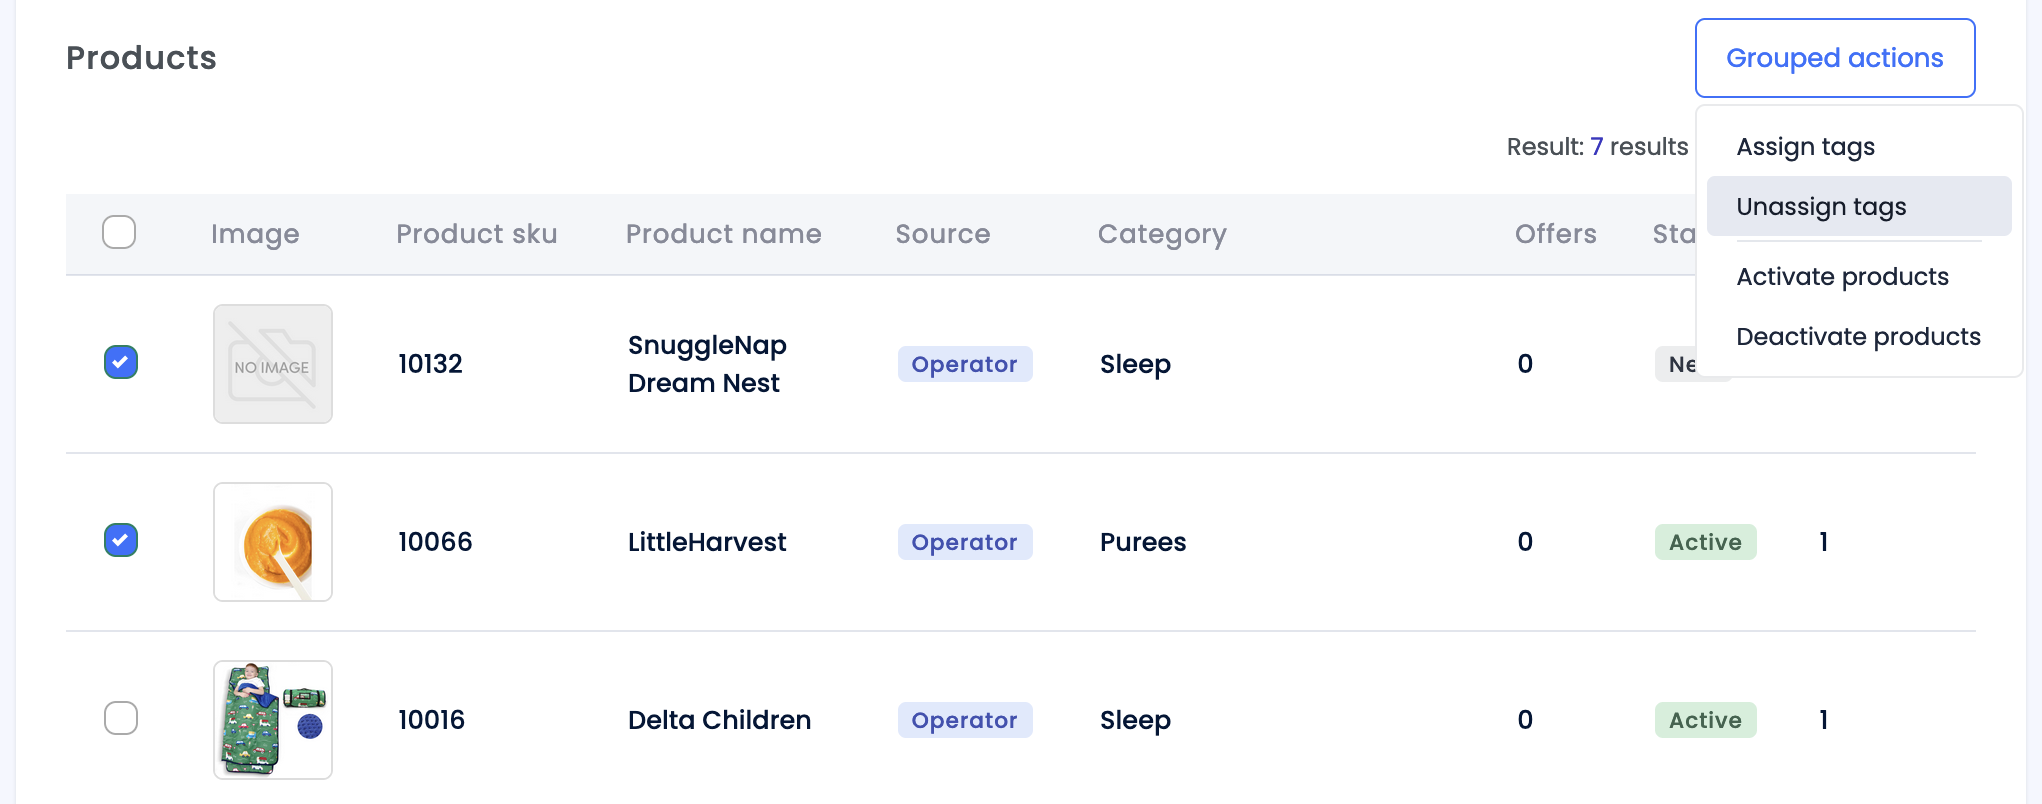
Tags can also be managed on several products at the same time. From the Catalog → Product list menu, select the products to tag and click Grouped actions. Select Assign tags or Unassign tags.
Unassign tags
For a specific product:
Click Catalog → Product list.
Click a tagged product.
In the Tags section, click the x next to the tag.
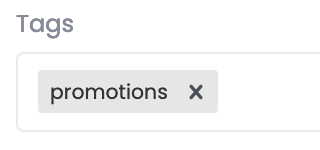
Click Save.
For several products:
- Click Catalog → Product list.
- Select tagged products.
- Select Grouped actions and click Unassign tags.
- Select the tag to remove.
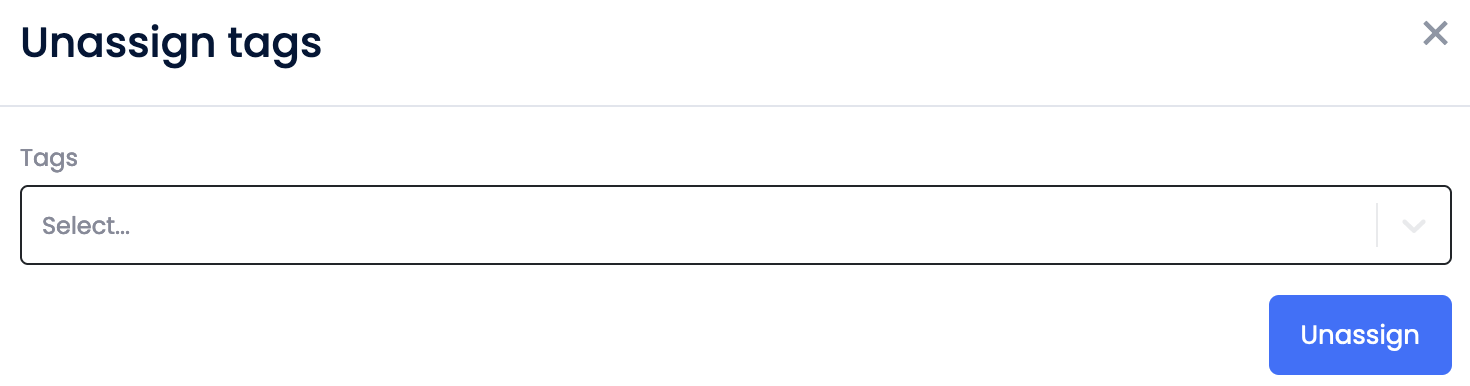
- Click Unassign.
This method can also be used for single products.
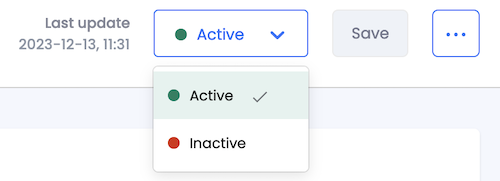
Product status
| Status | Description |
|---|---|
| New | The product has just been created or imported in DJUST. It is not visible on the store. Once changed, the New status is not available anymore. |
| Active | The product is visible on the store, even if it has no offer or inventory. |
| Inactive | The product is not visible on the store. |
Status can be edited from Catalog → Product list:
One at a time, by clicking the product and selecting a status.
In bulk, by selecting several products and clicking Grouped actions.