Customers
In DJUST, customers can be several identities with different access levels:
- Account: Name of the company where the end-users of your store belong to. Example: Airbus.
- Organisation: Optional, sub-group or category within the company. Example: Airbus Space.
- User: End-user purchasing products on your store. Example: John Smith.
Creating accounts
Accounts are mandatory as each user must be attached to at least one account.
Accounts cannot be created alone. For each account created, you are asked to add a first user attached.
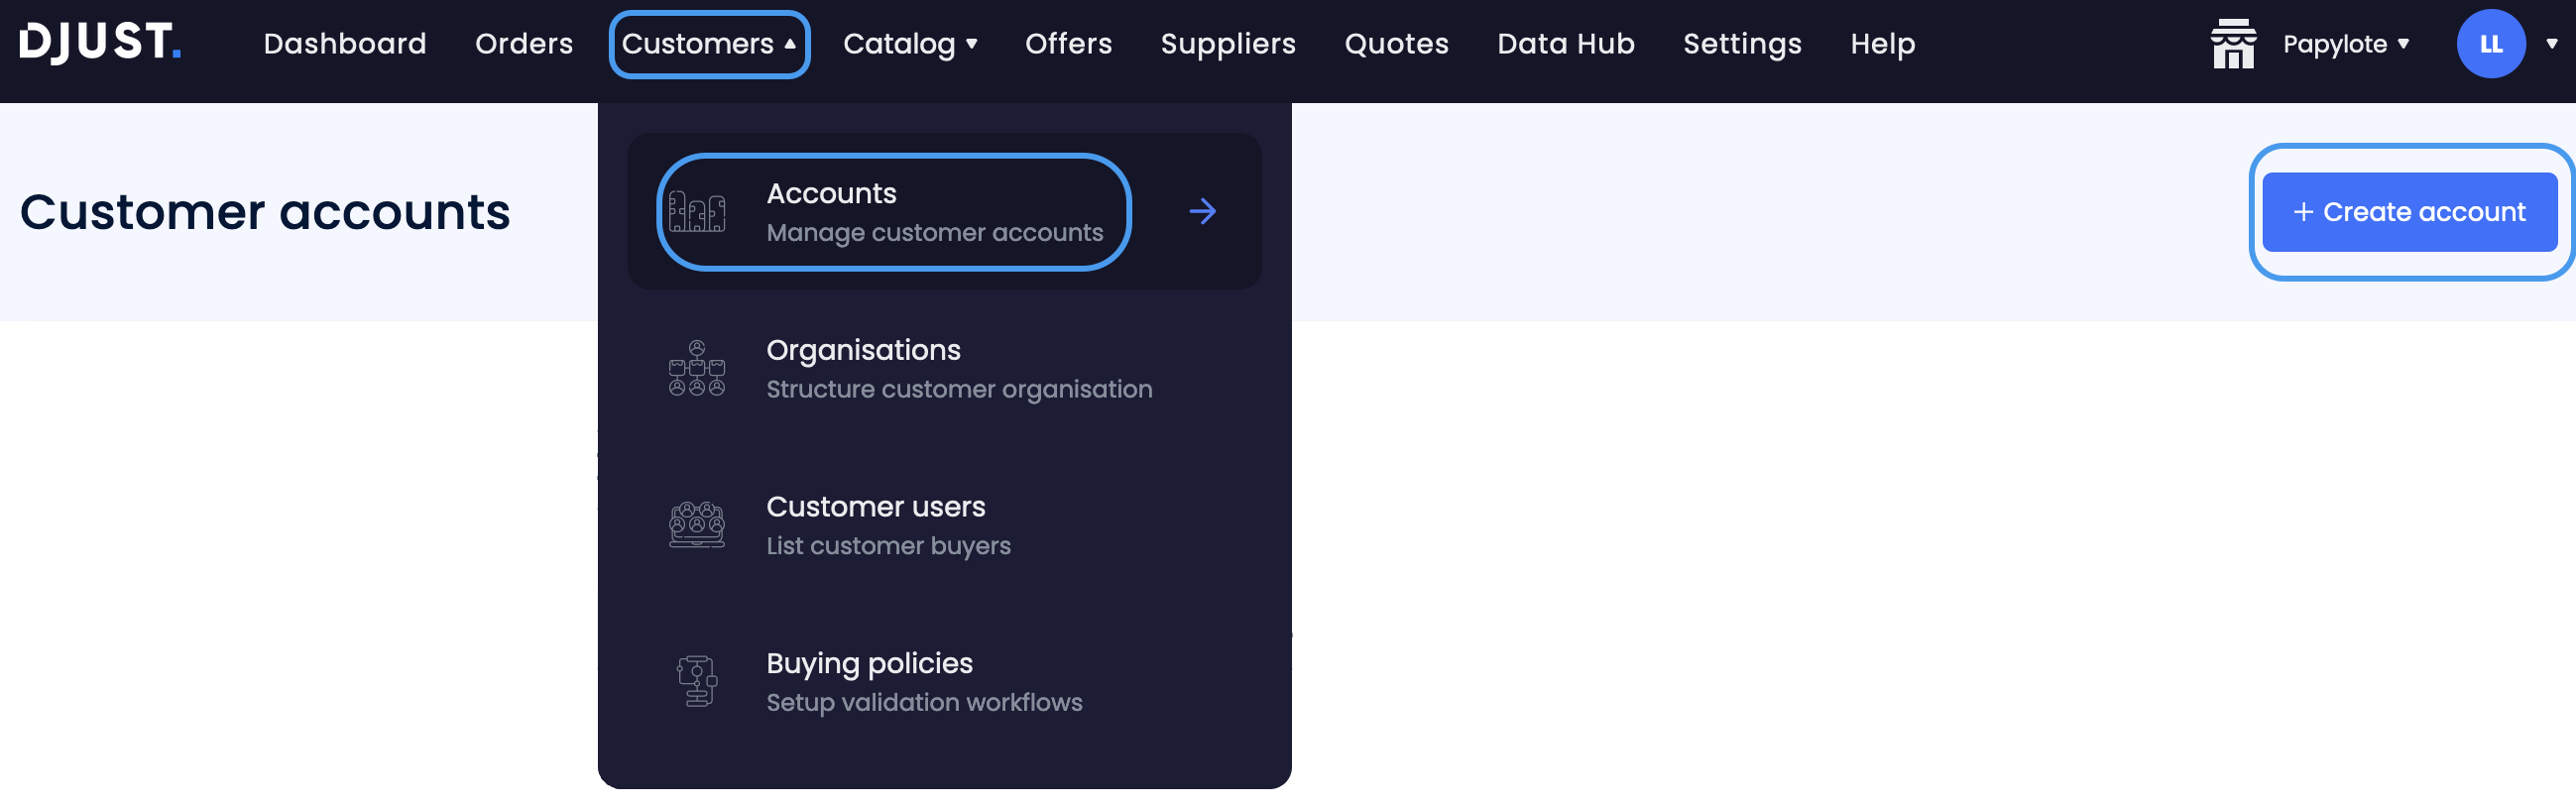
Click Customers → Accounts → + Create Account.
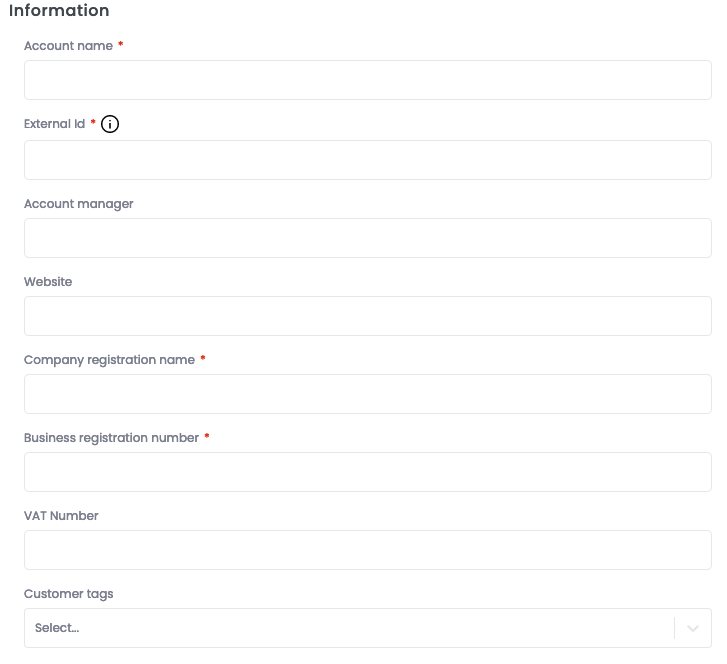
Fill in the Information:
- Account name
- External Id
- Account manager (optional)
- Website (optional)
- Company registration name
- Business registration number
- VAT number (optional)
- Customer tags (optional)
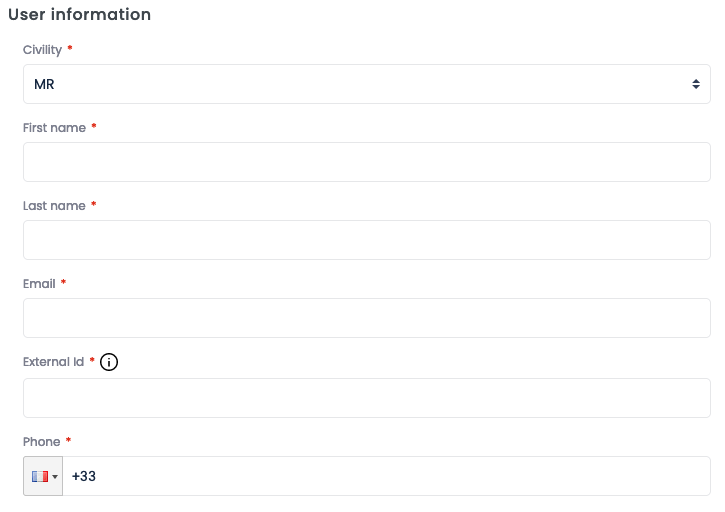
Fill in the User information:
- Civility
- First name
- Last name
- External Id
- Phone
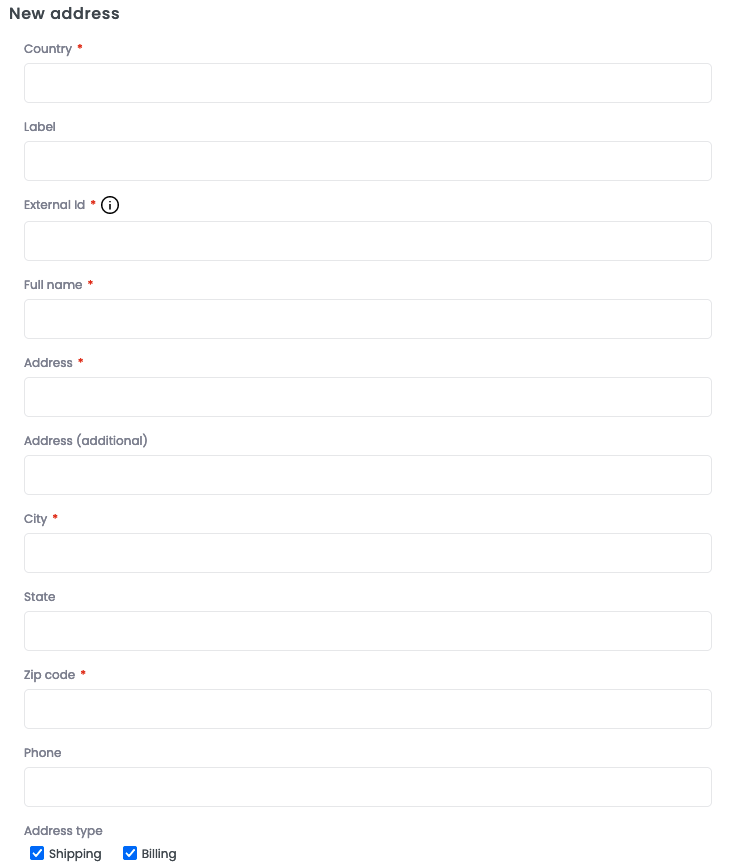
Fill in the New address:
- Country
- Label (optional)
- External Id
- Full name
- Address
- Address (additional) (optional)
- City
- State (optional)
- Zip code
- Phone (optional)
- Select whether the address is used for shipping, billing, or both.
Click Create.

If the Customer account approval parameter is active, each account create requires a manual approval by an internal user.
Importing accounts
Import customer accounts by using the Data Hub.
Accounts can be imported in DJUST using an FTP client and a .csv file, or using our API connector.
Refer to the Data hub section for more information.
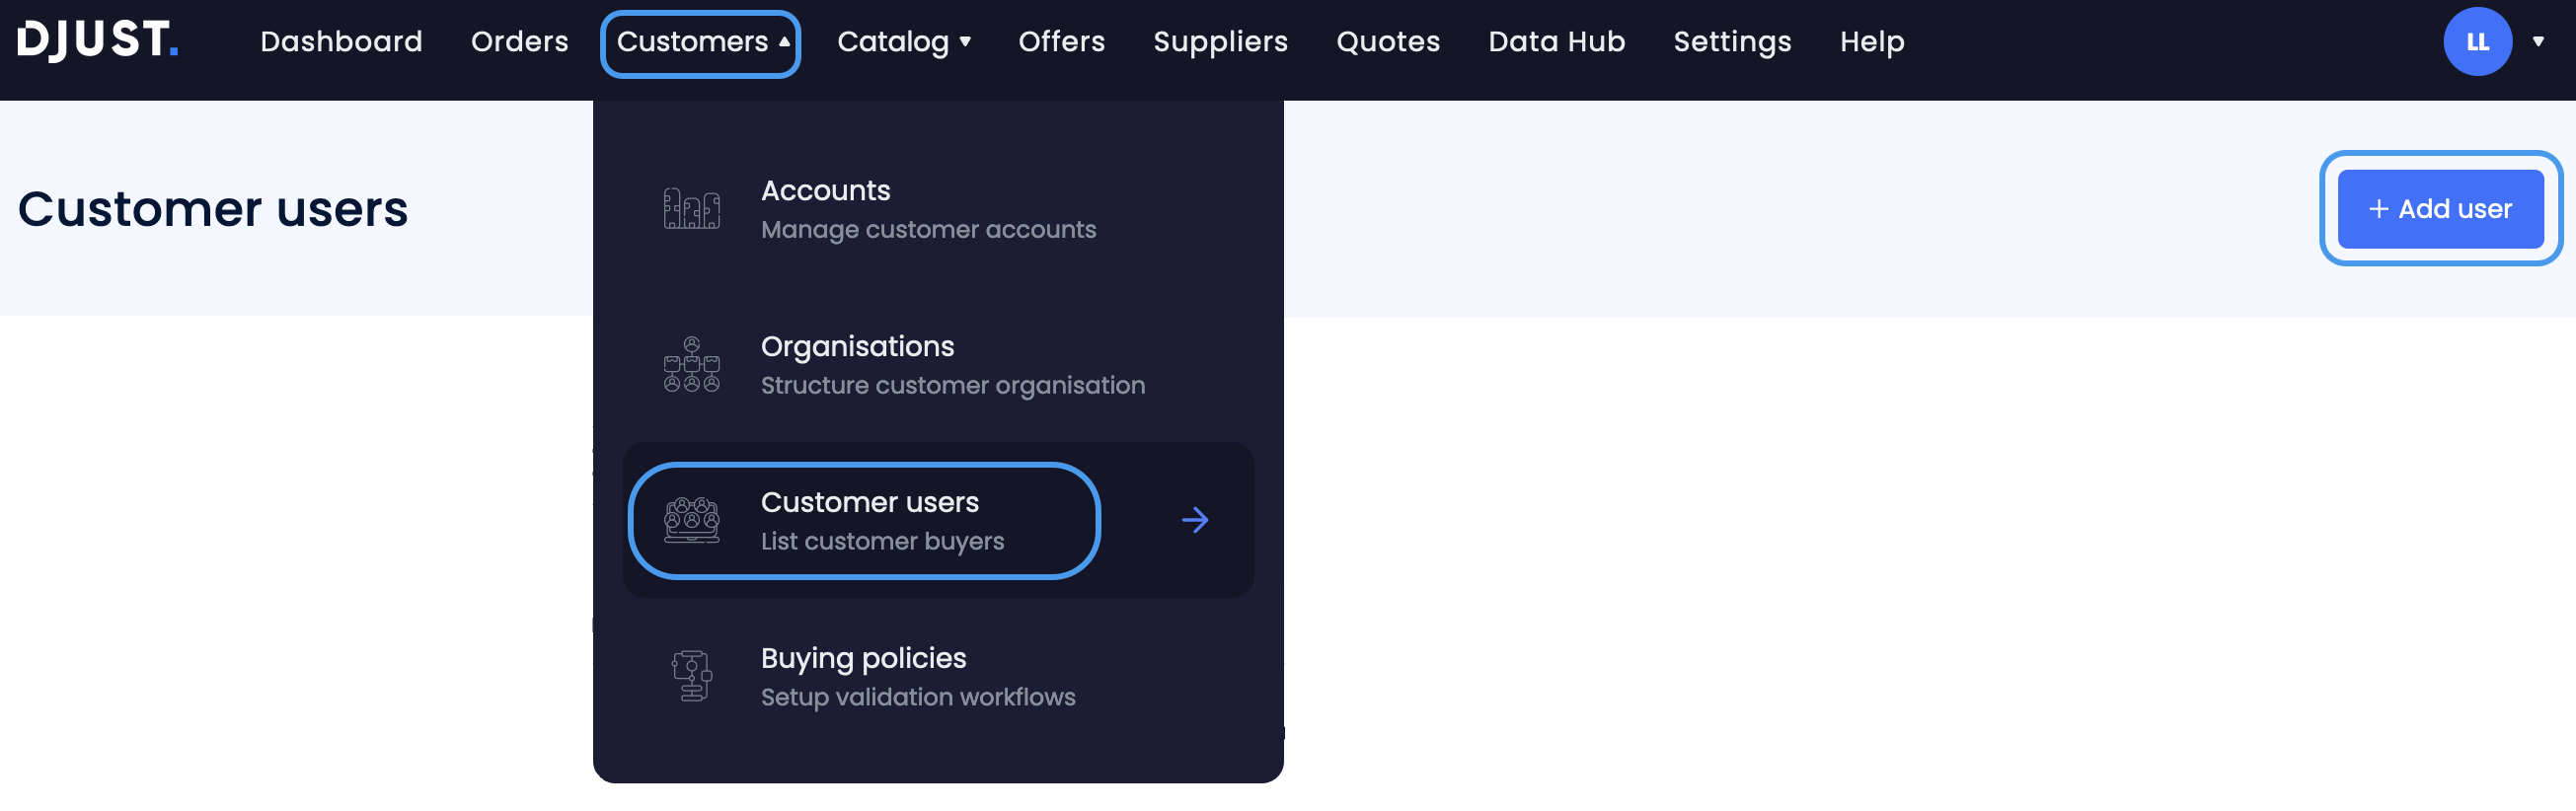
Creating users
Click Customers → Customer users → + Add user.
Fill in the following information:
- Civility
- First name
- Last name
- External ID (with no accent and no space)
- Phone
- Groups (add link)
- Account name (account to which the user is attached to)
Click Add.
The new user appears in the Customer users list.
Users can be edited by clicking on the chosen user from the users' list. Once the customer user starts placing orders and sending or receiving quotes, those will appear on their page, right below the user information. To deactivate a user:
- Select it from the users' list.
- Click the Actions button.
- Select Deactivate user.
This can be done on several users at the same time.
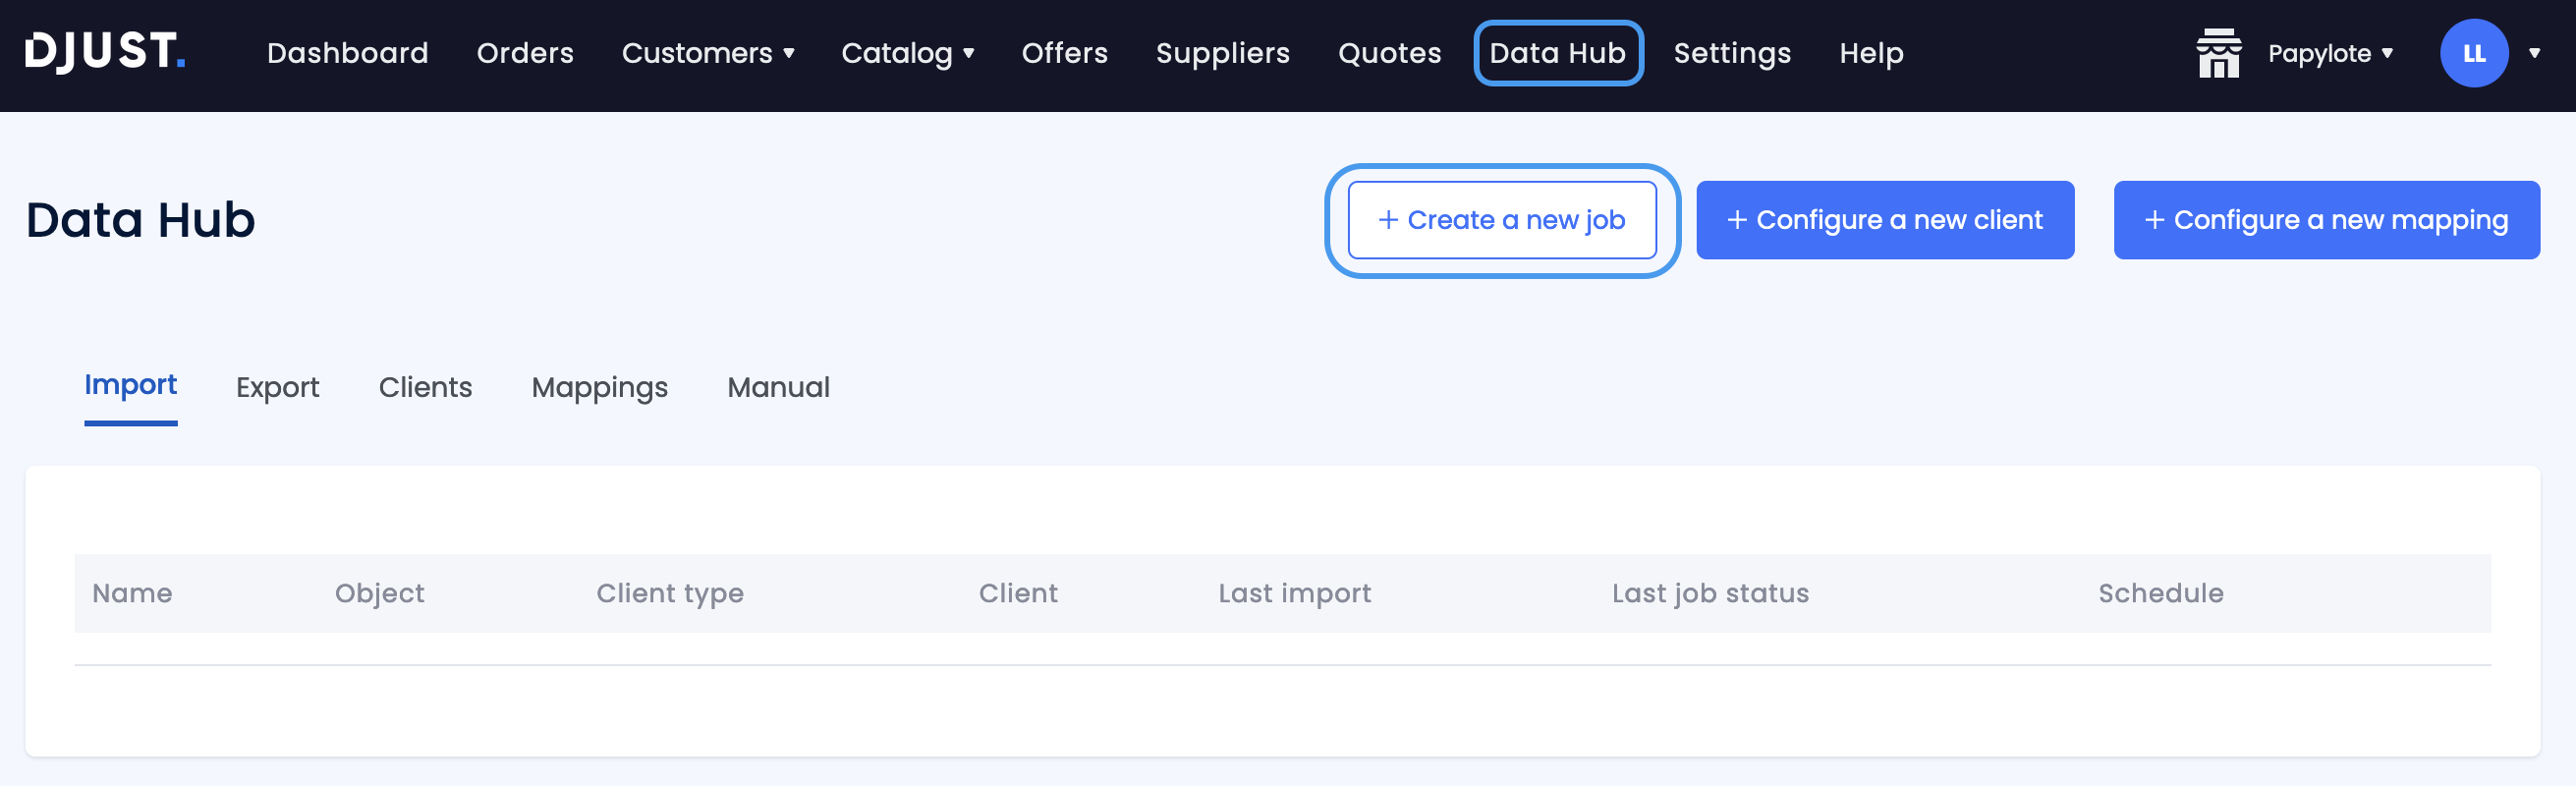
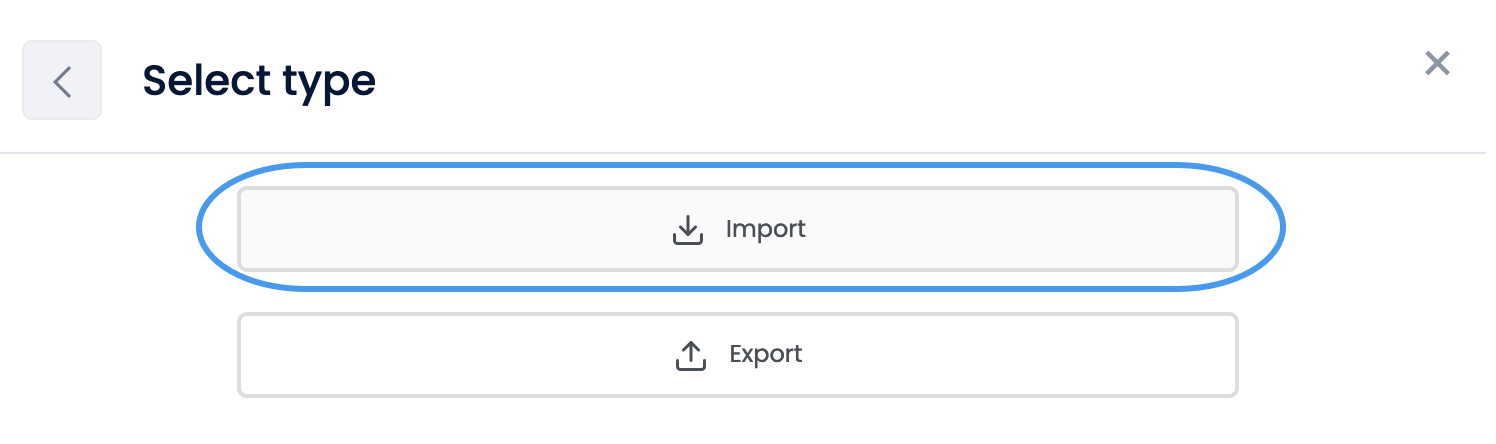
Importing users
Import user accounts by clicking Data Hub → Create a new job → Import job → Customer user csv.
| DJUST name | Description | Mandatory (Y/N) | Type | Example |
|---|---|---|---|---|
| externalId | External reference for this customer user | Y | Text | 1234 |
| civility | User's civility | Y | Text Values accepted: MISS, MRS, MR | MR |
| firstName | User's first name | Y | Text | John |
| lastName | User's last name | Y | Text | Smith |
| User's email address | Y | Text | john.smith@mail.com | |
| phone | User's phone number | Y | Number | |
| groups | User's role in DJUST | Y | List text (multiple values accepted) Values accepted: FOC_Admin FOC_User FOC_Webmaster | FOC_Admin or FOC_User||FOC_Webmaster |
| organisationIds | Organisation's external reference | N | List text (multiple values accepted) | org1 |
| mainOrganisationId | Main organization external reference | N | Text | company1 |
| accountIds | Account IDs to which to user is attached | Y | List text (multiple values accepted) | account1||account 2||account3 |
| password | Temporary password for the account | N | Text | 1234Password |
| inactive | Activate or deactivate the user | N | Boolean TRUE/FALSE TRUE: Activate the user FALSE: Deactivate the user | TRUE |
| delete | Delete the user | N | Boolean TRUE/FALSE TRUE: Delete the user FALSE: Keep the user | FALSE |
| storeIds | Store(s) ID(s) to which the user can have access to | N | List text (multiple values accepted) | store1||store 2 |
Add legal user
If using a payment service provider, you can declare a specific user to contact (for billing or legal purposes).
You can only add one legal user per account.
Click Customers → Accounts.
Select an account.
Click More actions at the top-right and click Add a legal user.

Fill in the information:
- First name
- Last name
- Birthday
- Nationality
- Country of residence
All fields are mandatory.
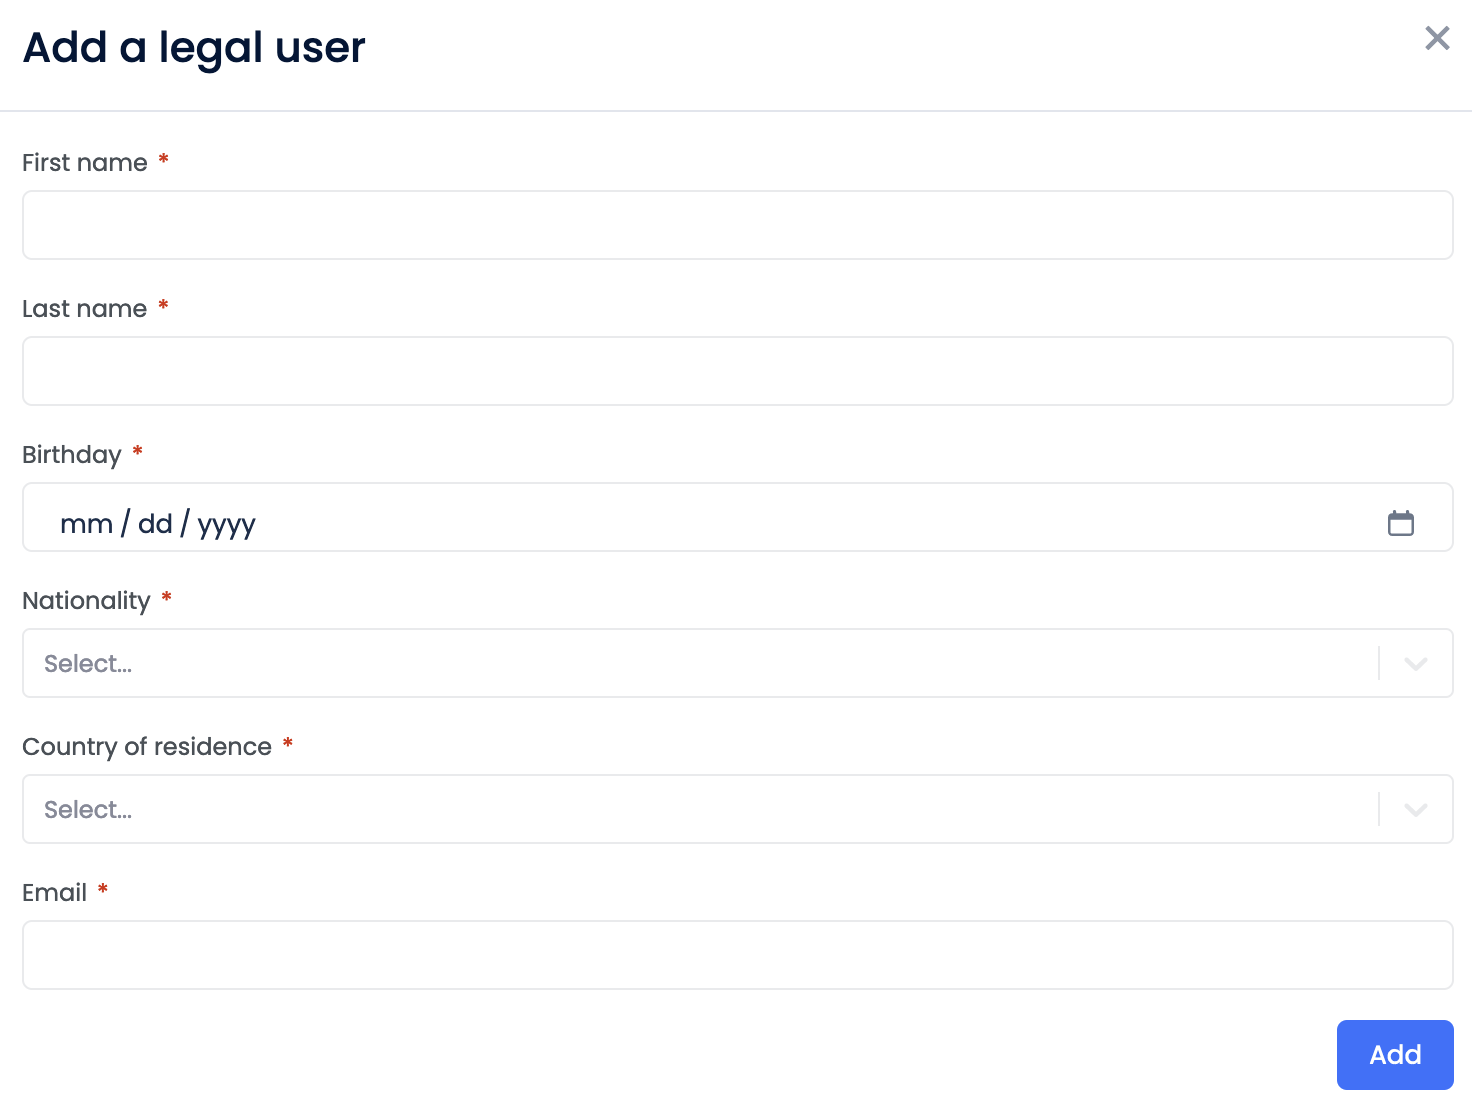
Click Add.
Creating customer tags (optional)
Customer groups are required to offer different prices to different groups of customers. To create customer groups, you need to create customer tags.
Customer tags can only be created manually. They must be created before the offers so that you can associate offers with specific groups of customers.
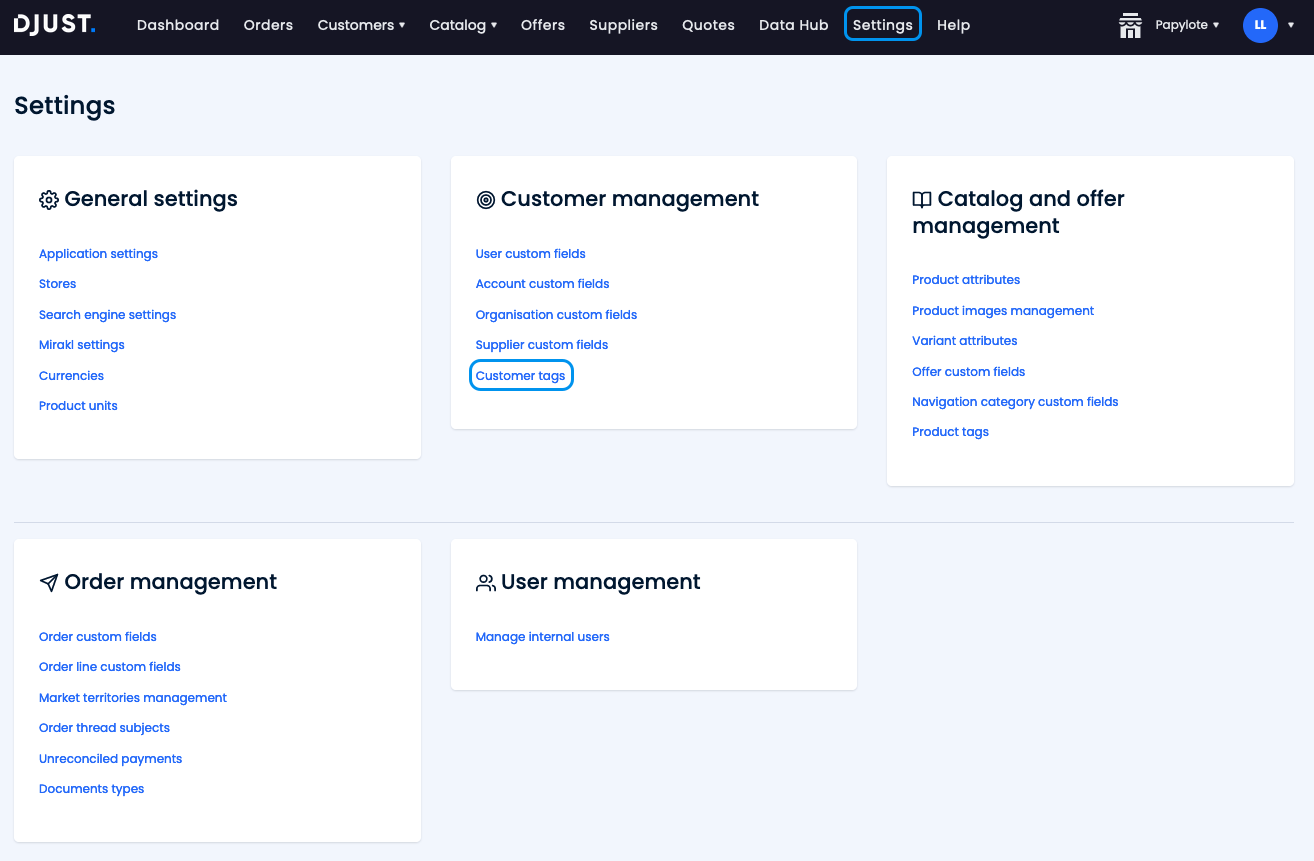
Click Settings → Customer Management → Customer tags.
Click + Add customer tag.
Fill in the fields:
Name
External Id
Description

Click Create.
Tags can have any value or description you like ("premium", "hotel"...) depending on your usage. DJUST recommends using simple tag names.
Creating organizations and sub-organizations (optional)
Users can be assigned to organizations and sub-organizations, so they can access content that is relevant to them.
For instance, one member of sub-organization A is not able to see the back-office content of a user from sub-organization B, and so on.
You can create custom fields for organizations as well. Go to Settings → Customer Management → Organisation custom fields.
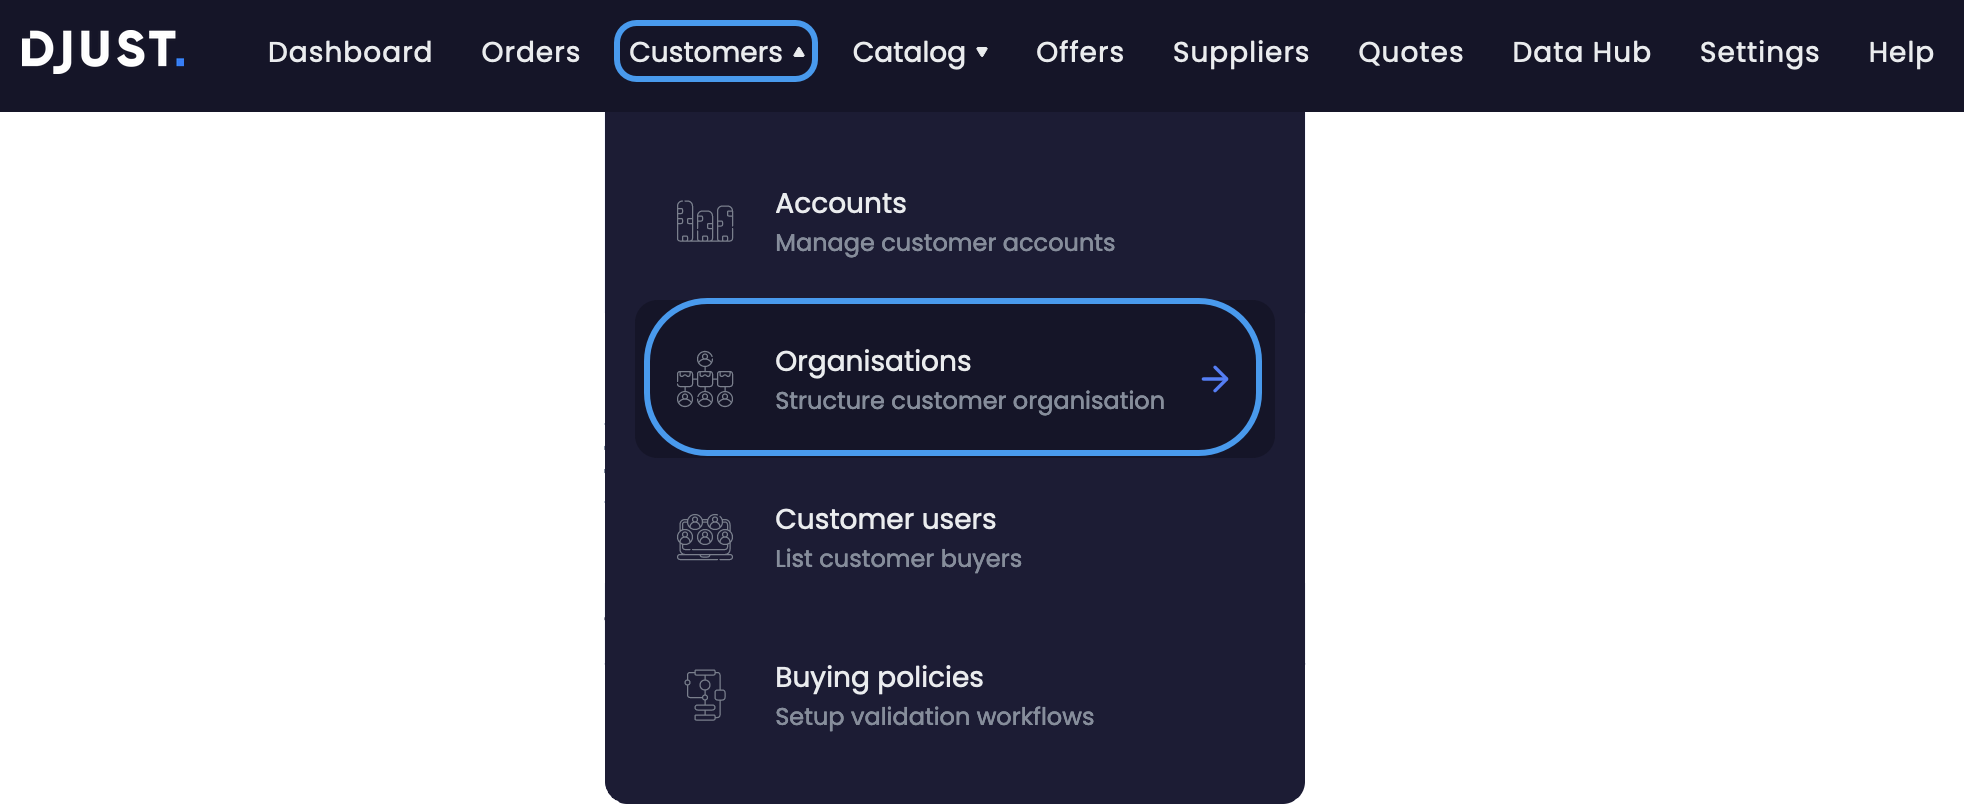
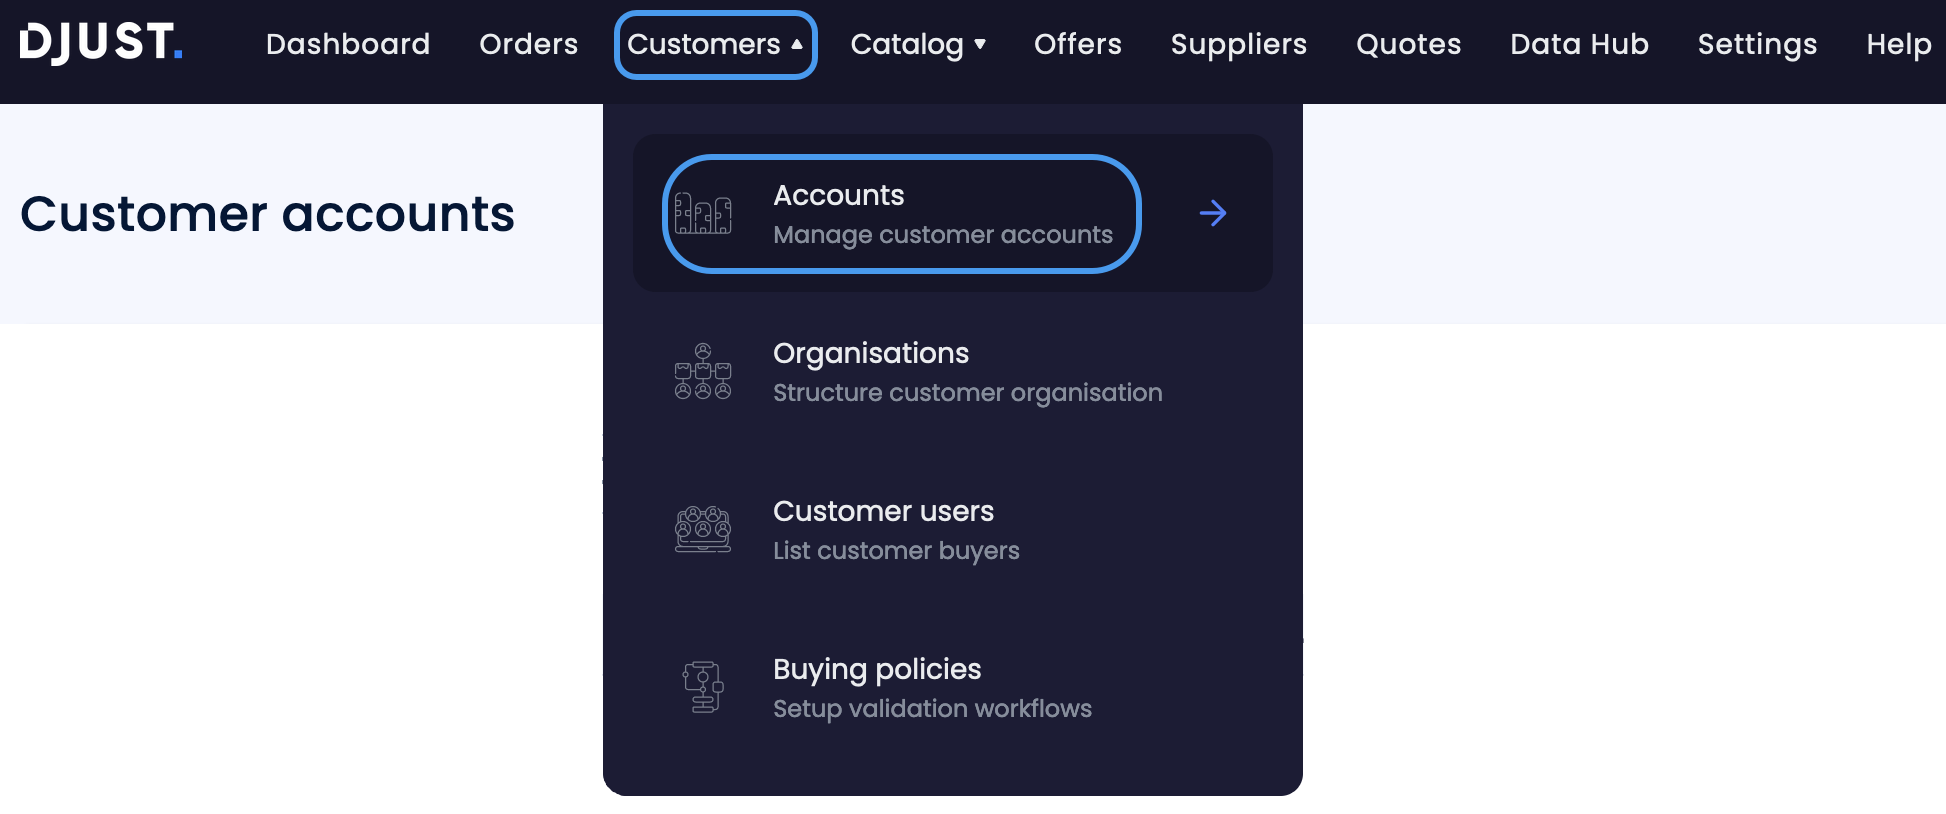
You can create a new organizations either in:
Customers → Organisations
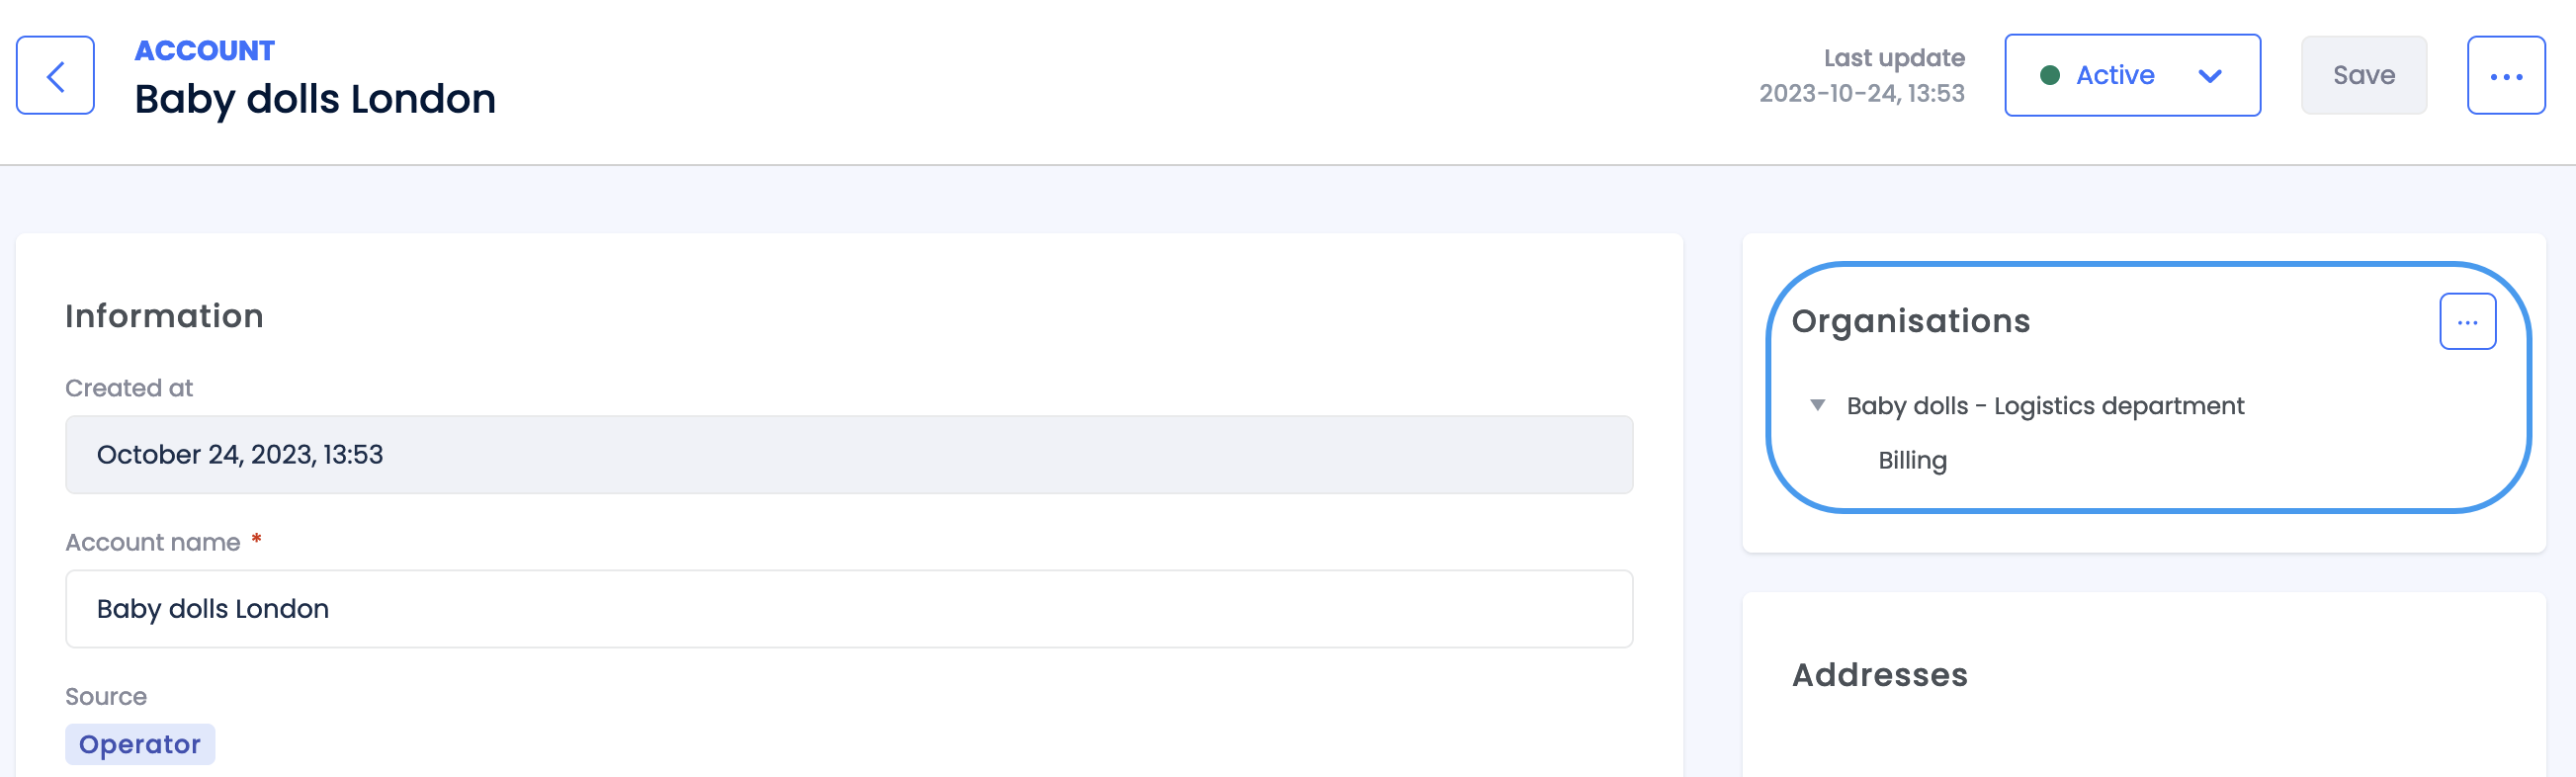
Customers → Accounts → Select an account → go to the Organisations section of the page → Add an organisation

Click + Add organisation.
Fill in the fields:
- Name
- External ID
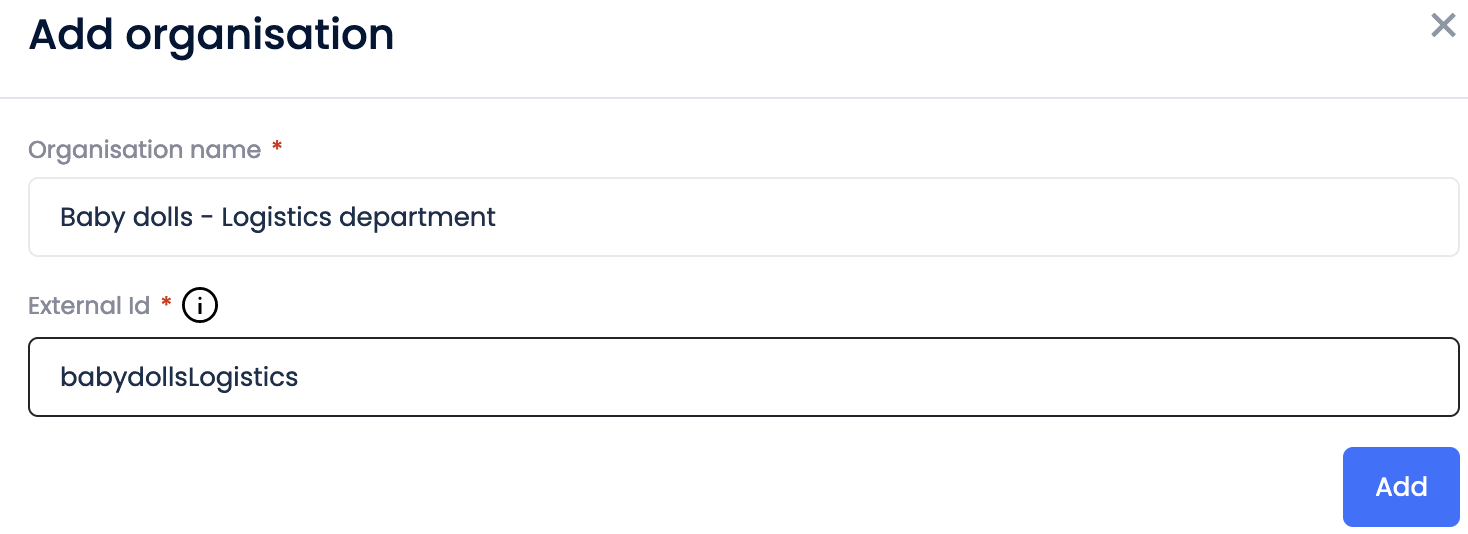
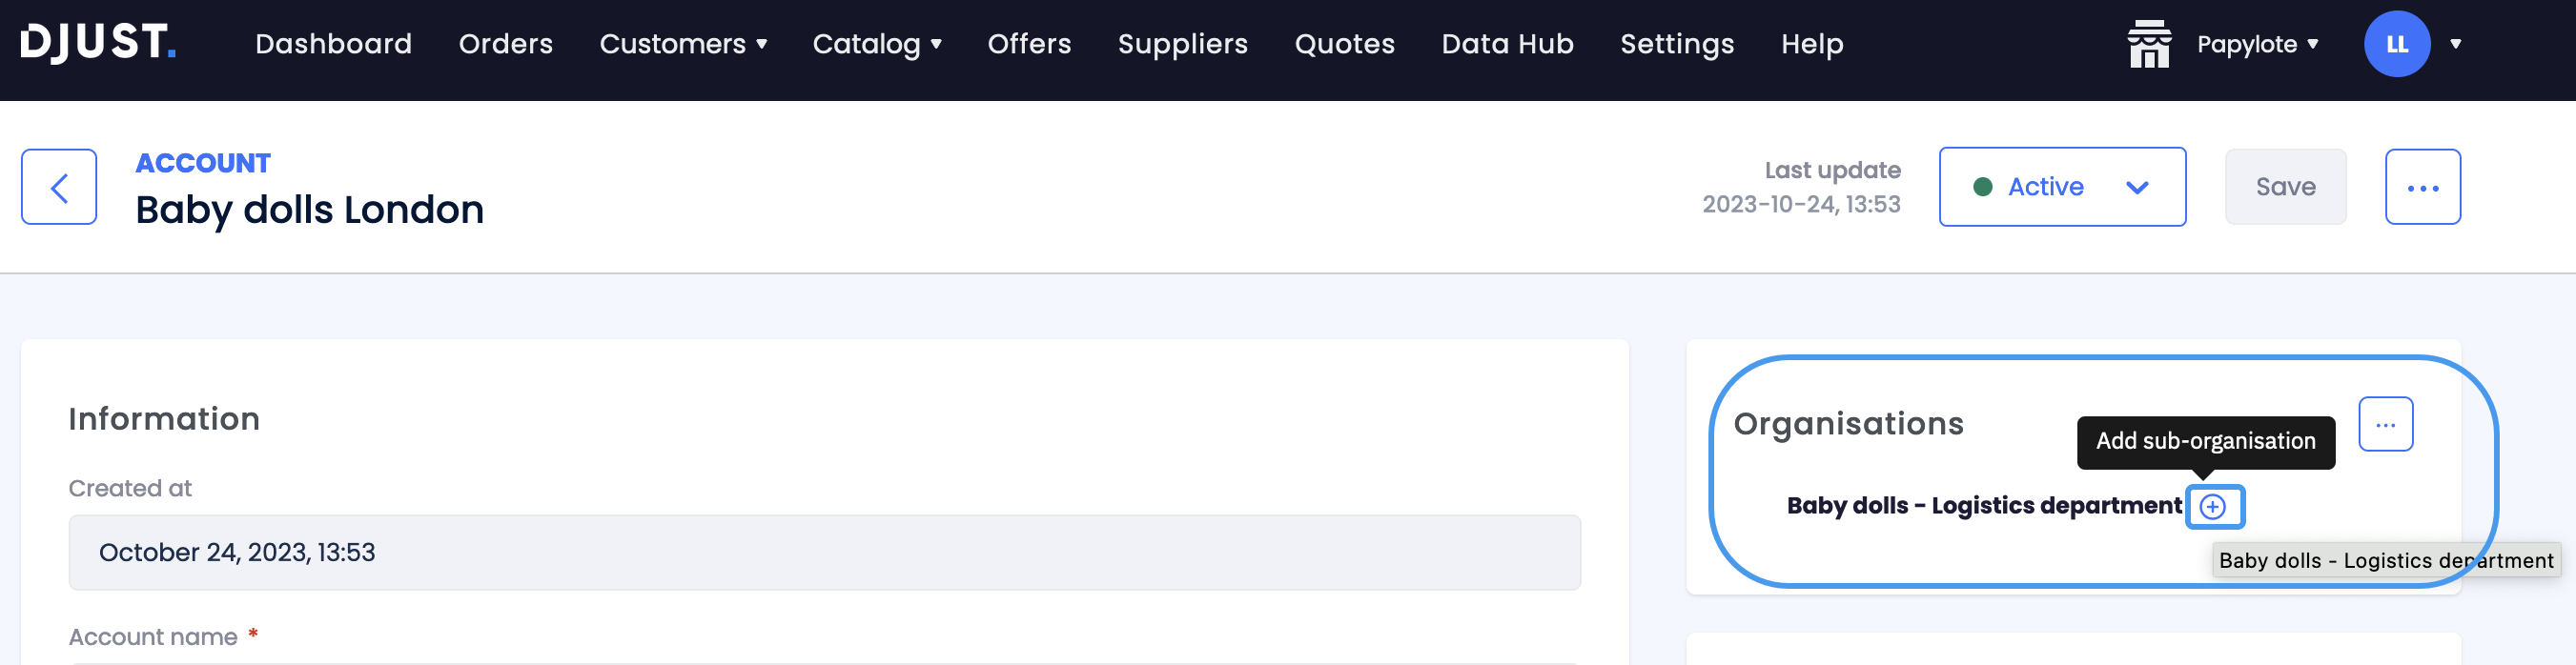
Click Add. The organisation appears on the account's screen.
Hover the new organisation and click the + appearing to add a sub-organisation.
Fill in the fields:
- Name
- External ID
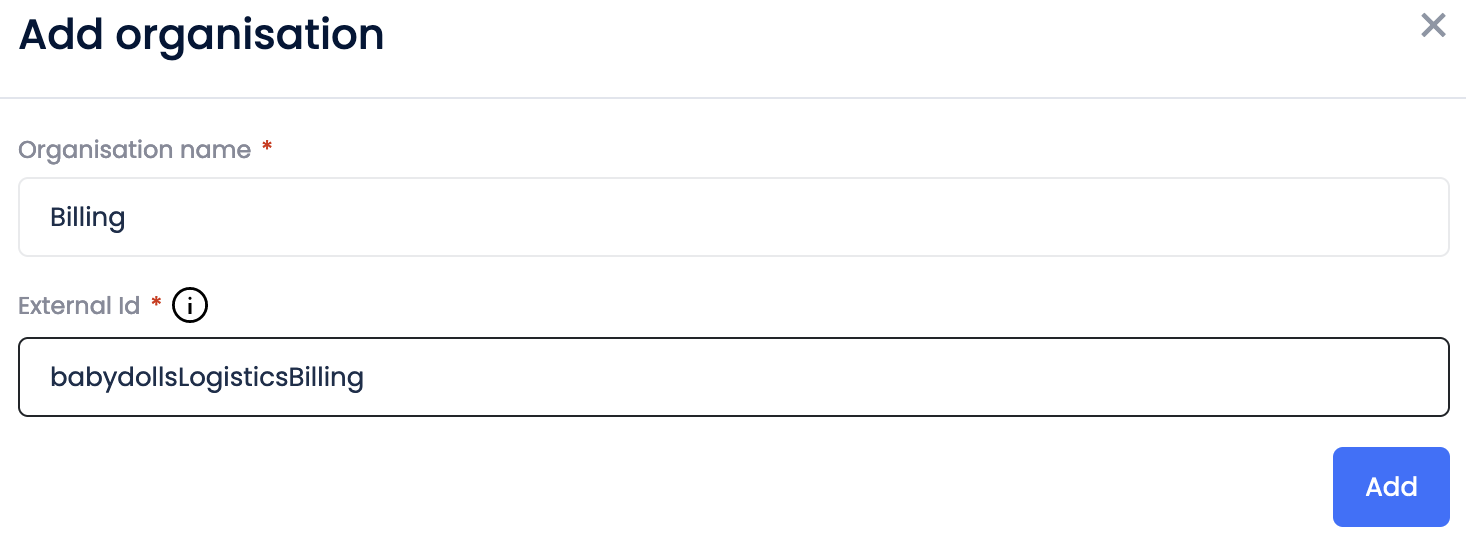
Even if the pop-up name shows "Organisation", it creates a sub organisation.
Click Add. The organisation and its sub appear on the account's screen.
Linking a customer user to an organisation (optional)
- Click Customer → Customer Users.
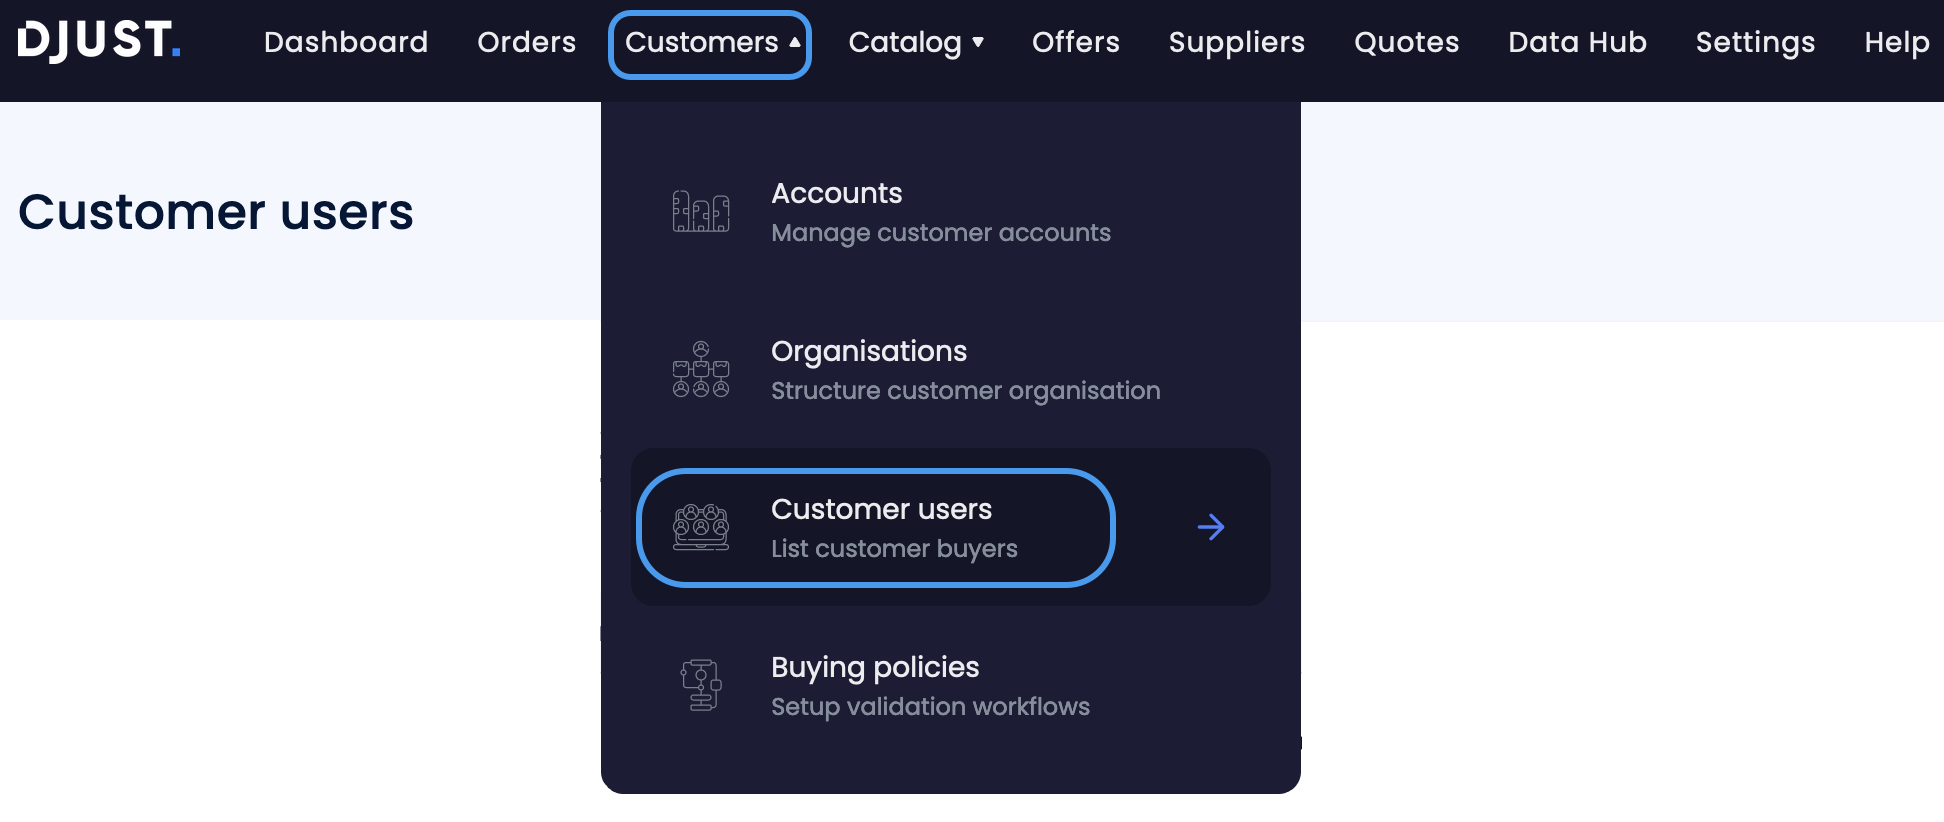
- Select the user you want to add to the organisation.
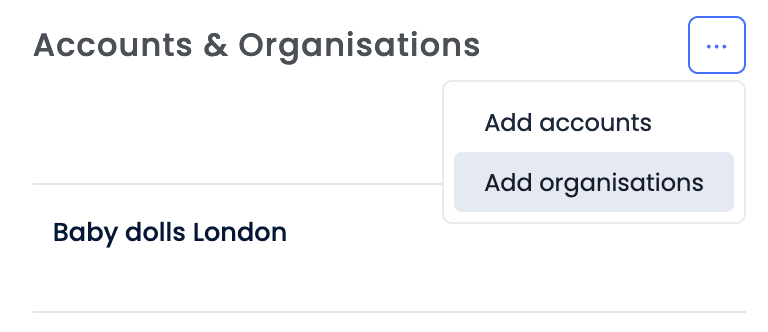
- Click Add Organisations from the "Accounts and Organisations" section of the page.
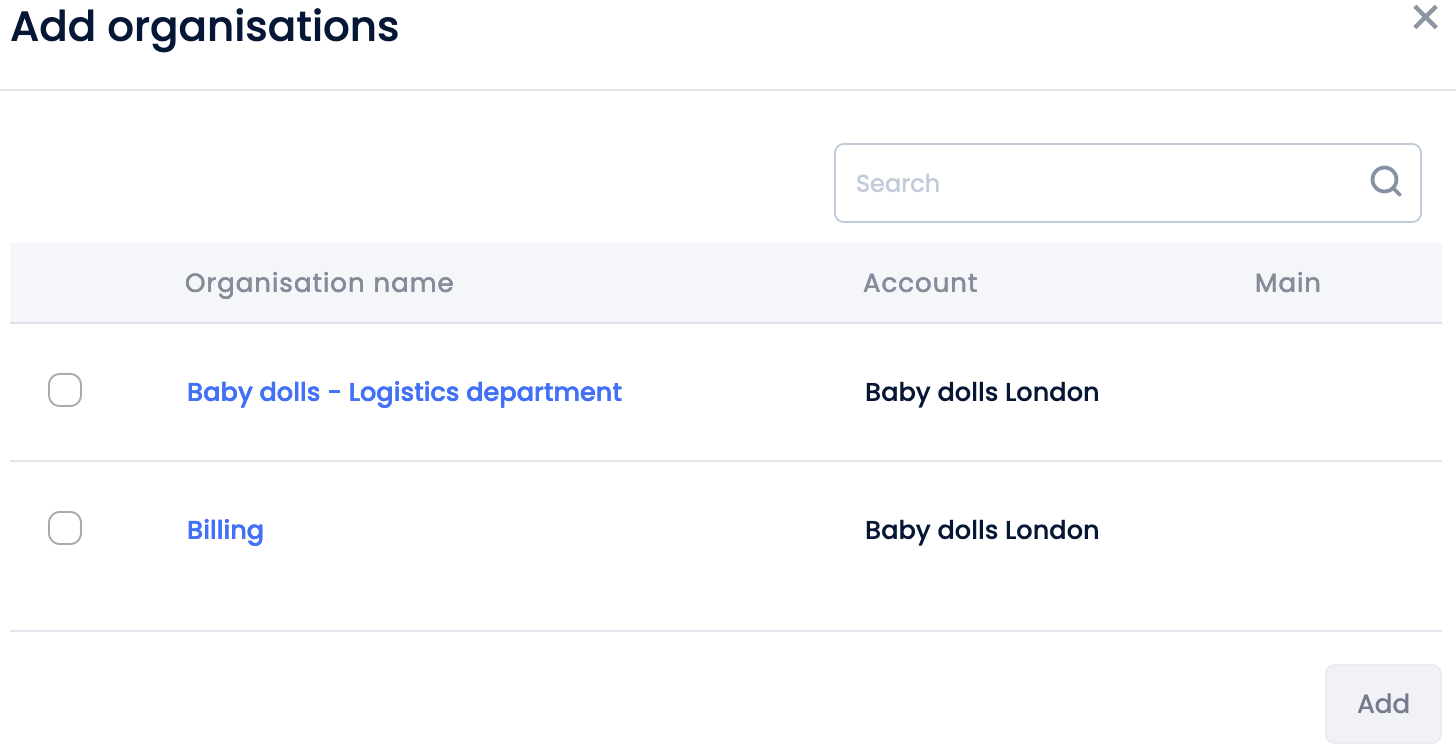
- Search for the organisation, select it and click Add.
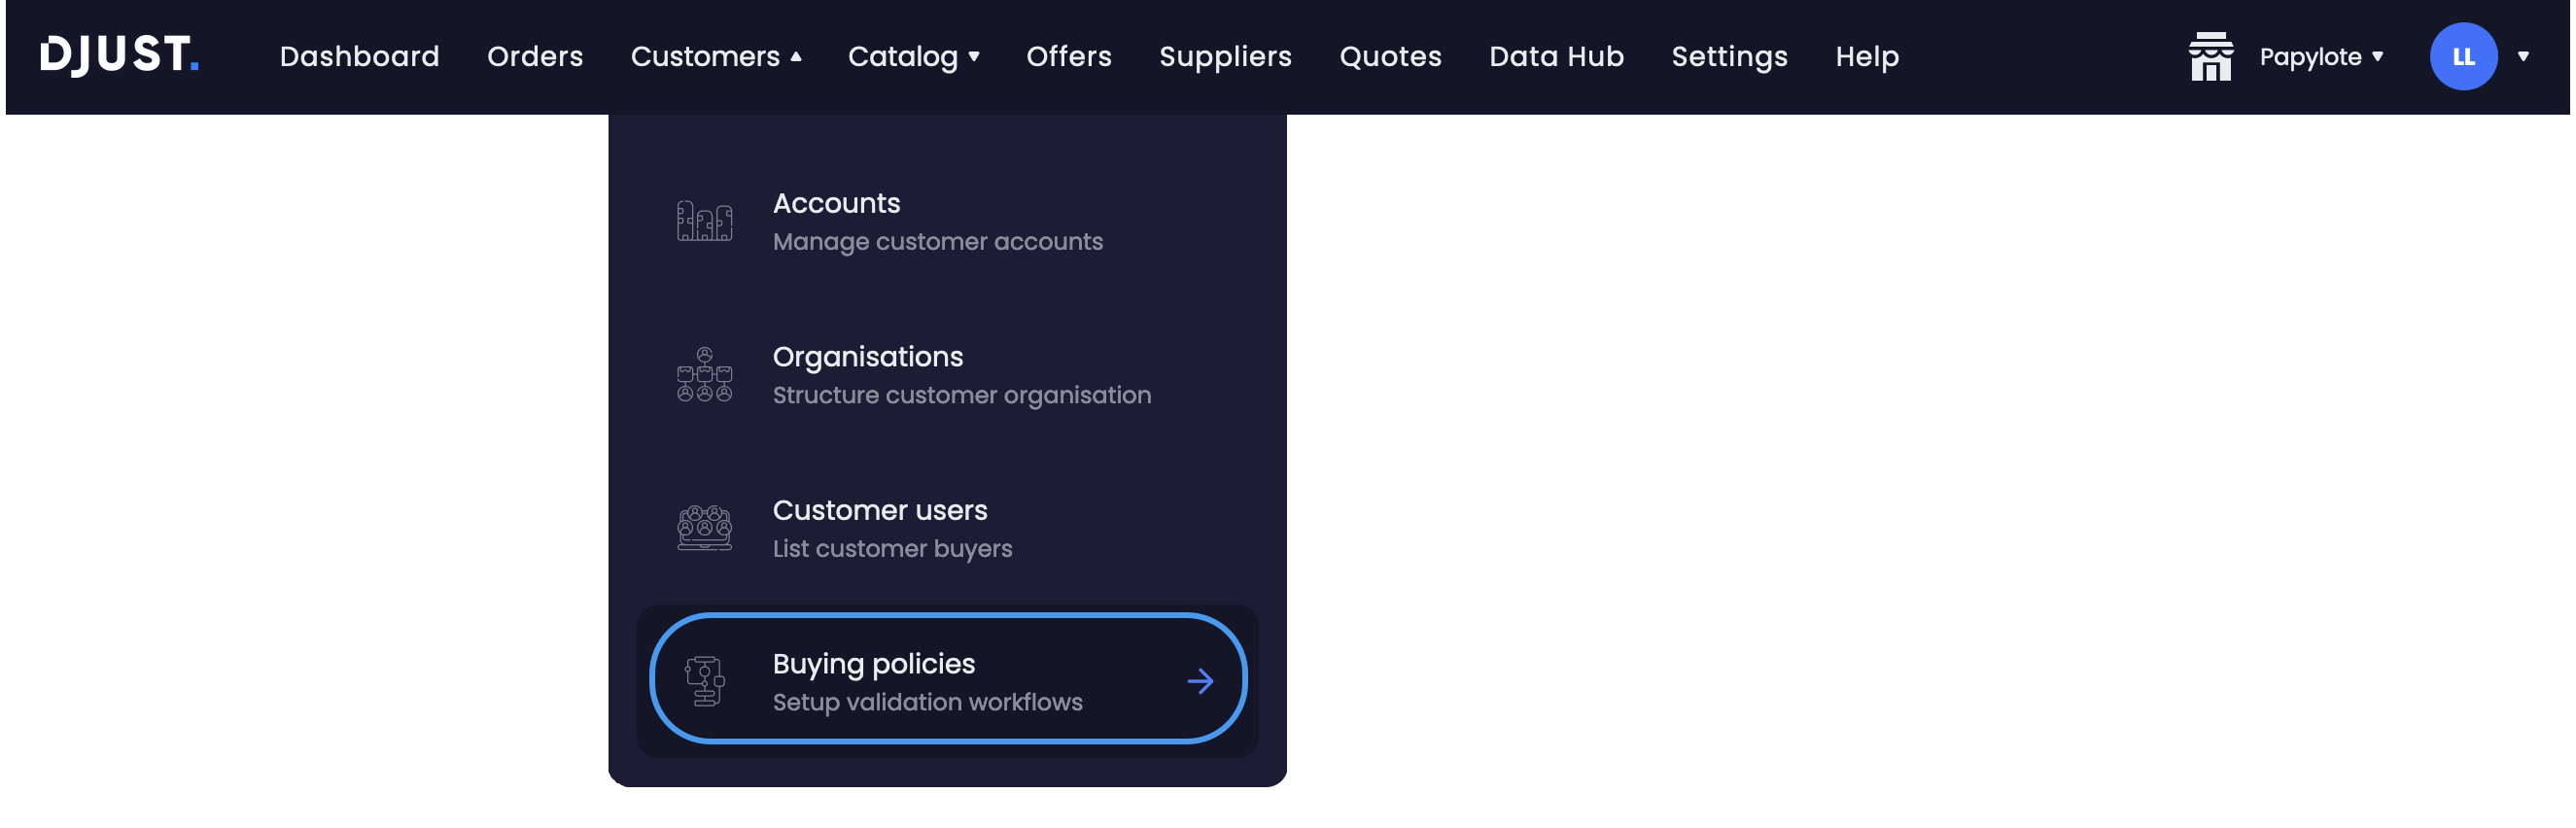
Creating buying policies
Click Customer → Buying policies.
Click the Add policy button.

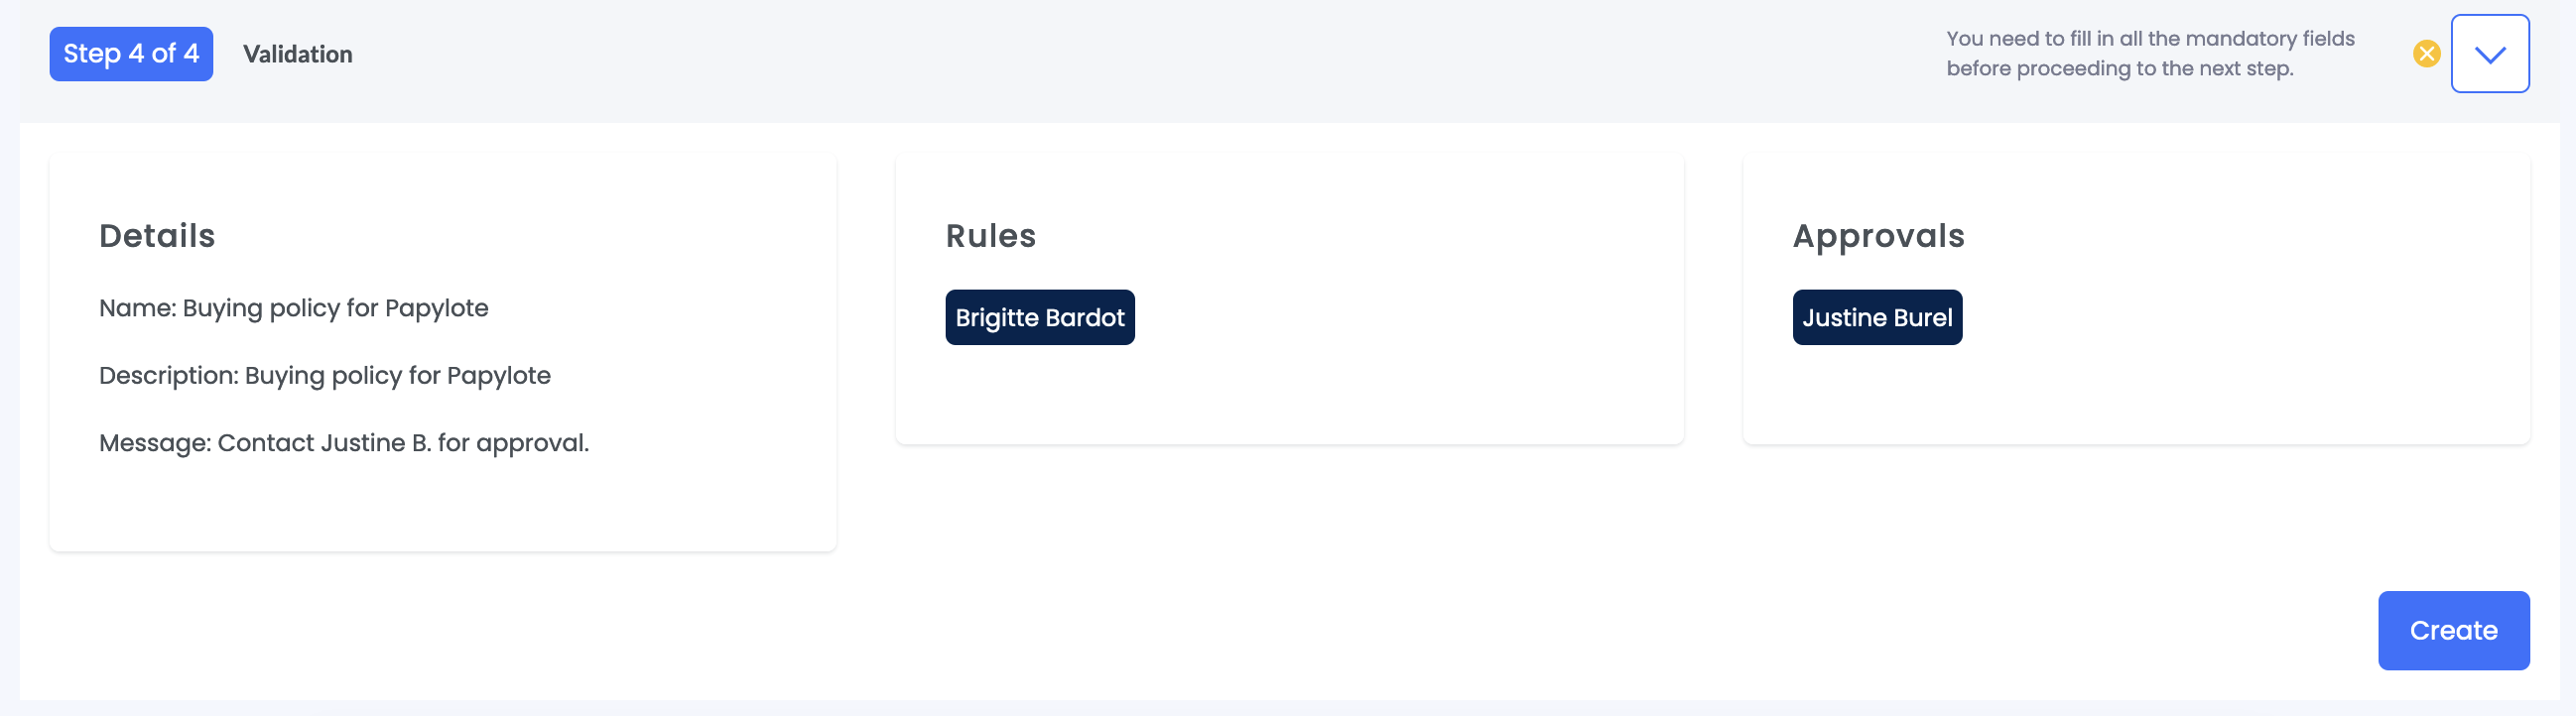
Fill in the policy's Details:
- Name
- Description
- Message (displayed to the customer)
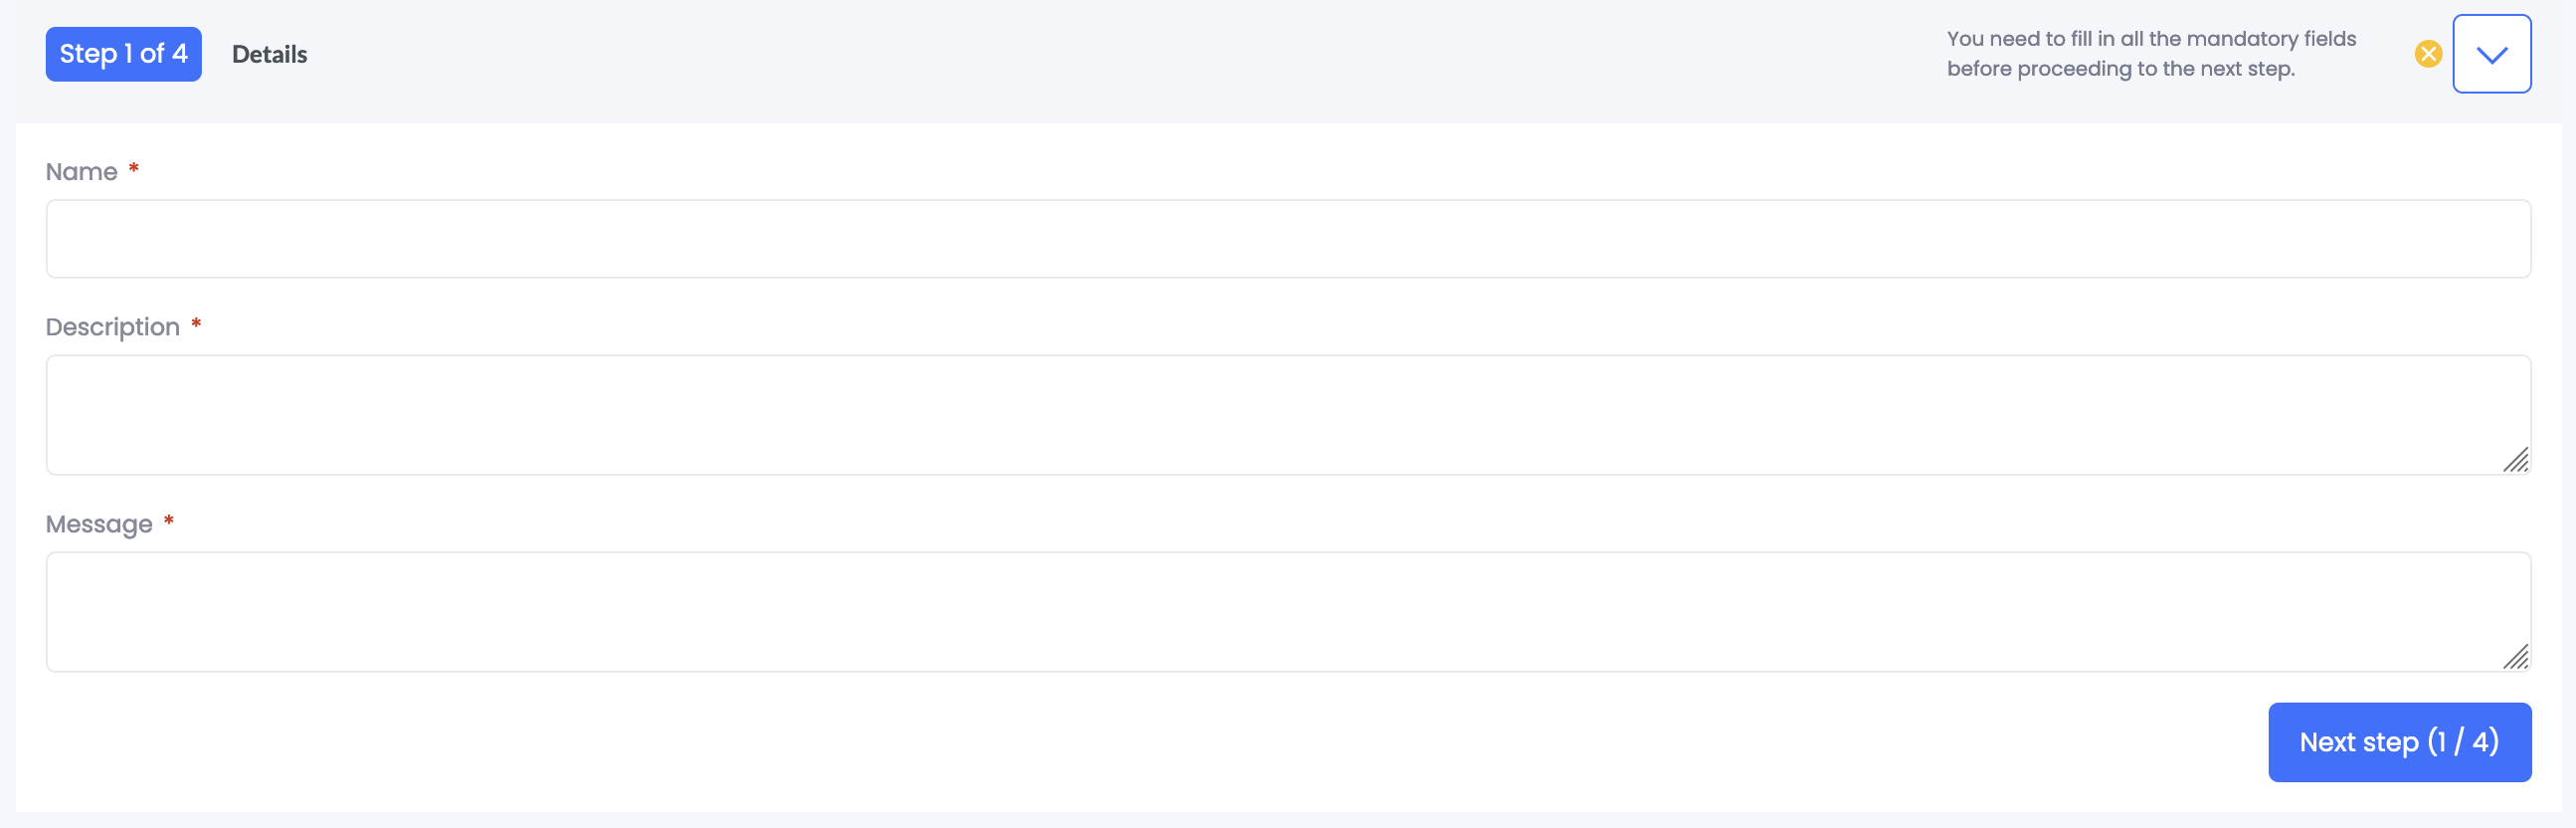
Click Next step.
Fill in the policy's Rules:
- Select an account
- Select users from that account that will need to have their purchases reviewed
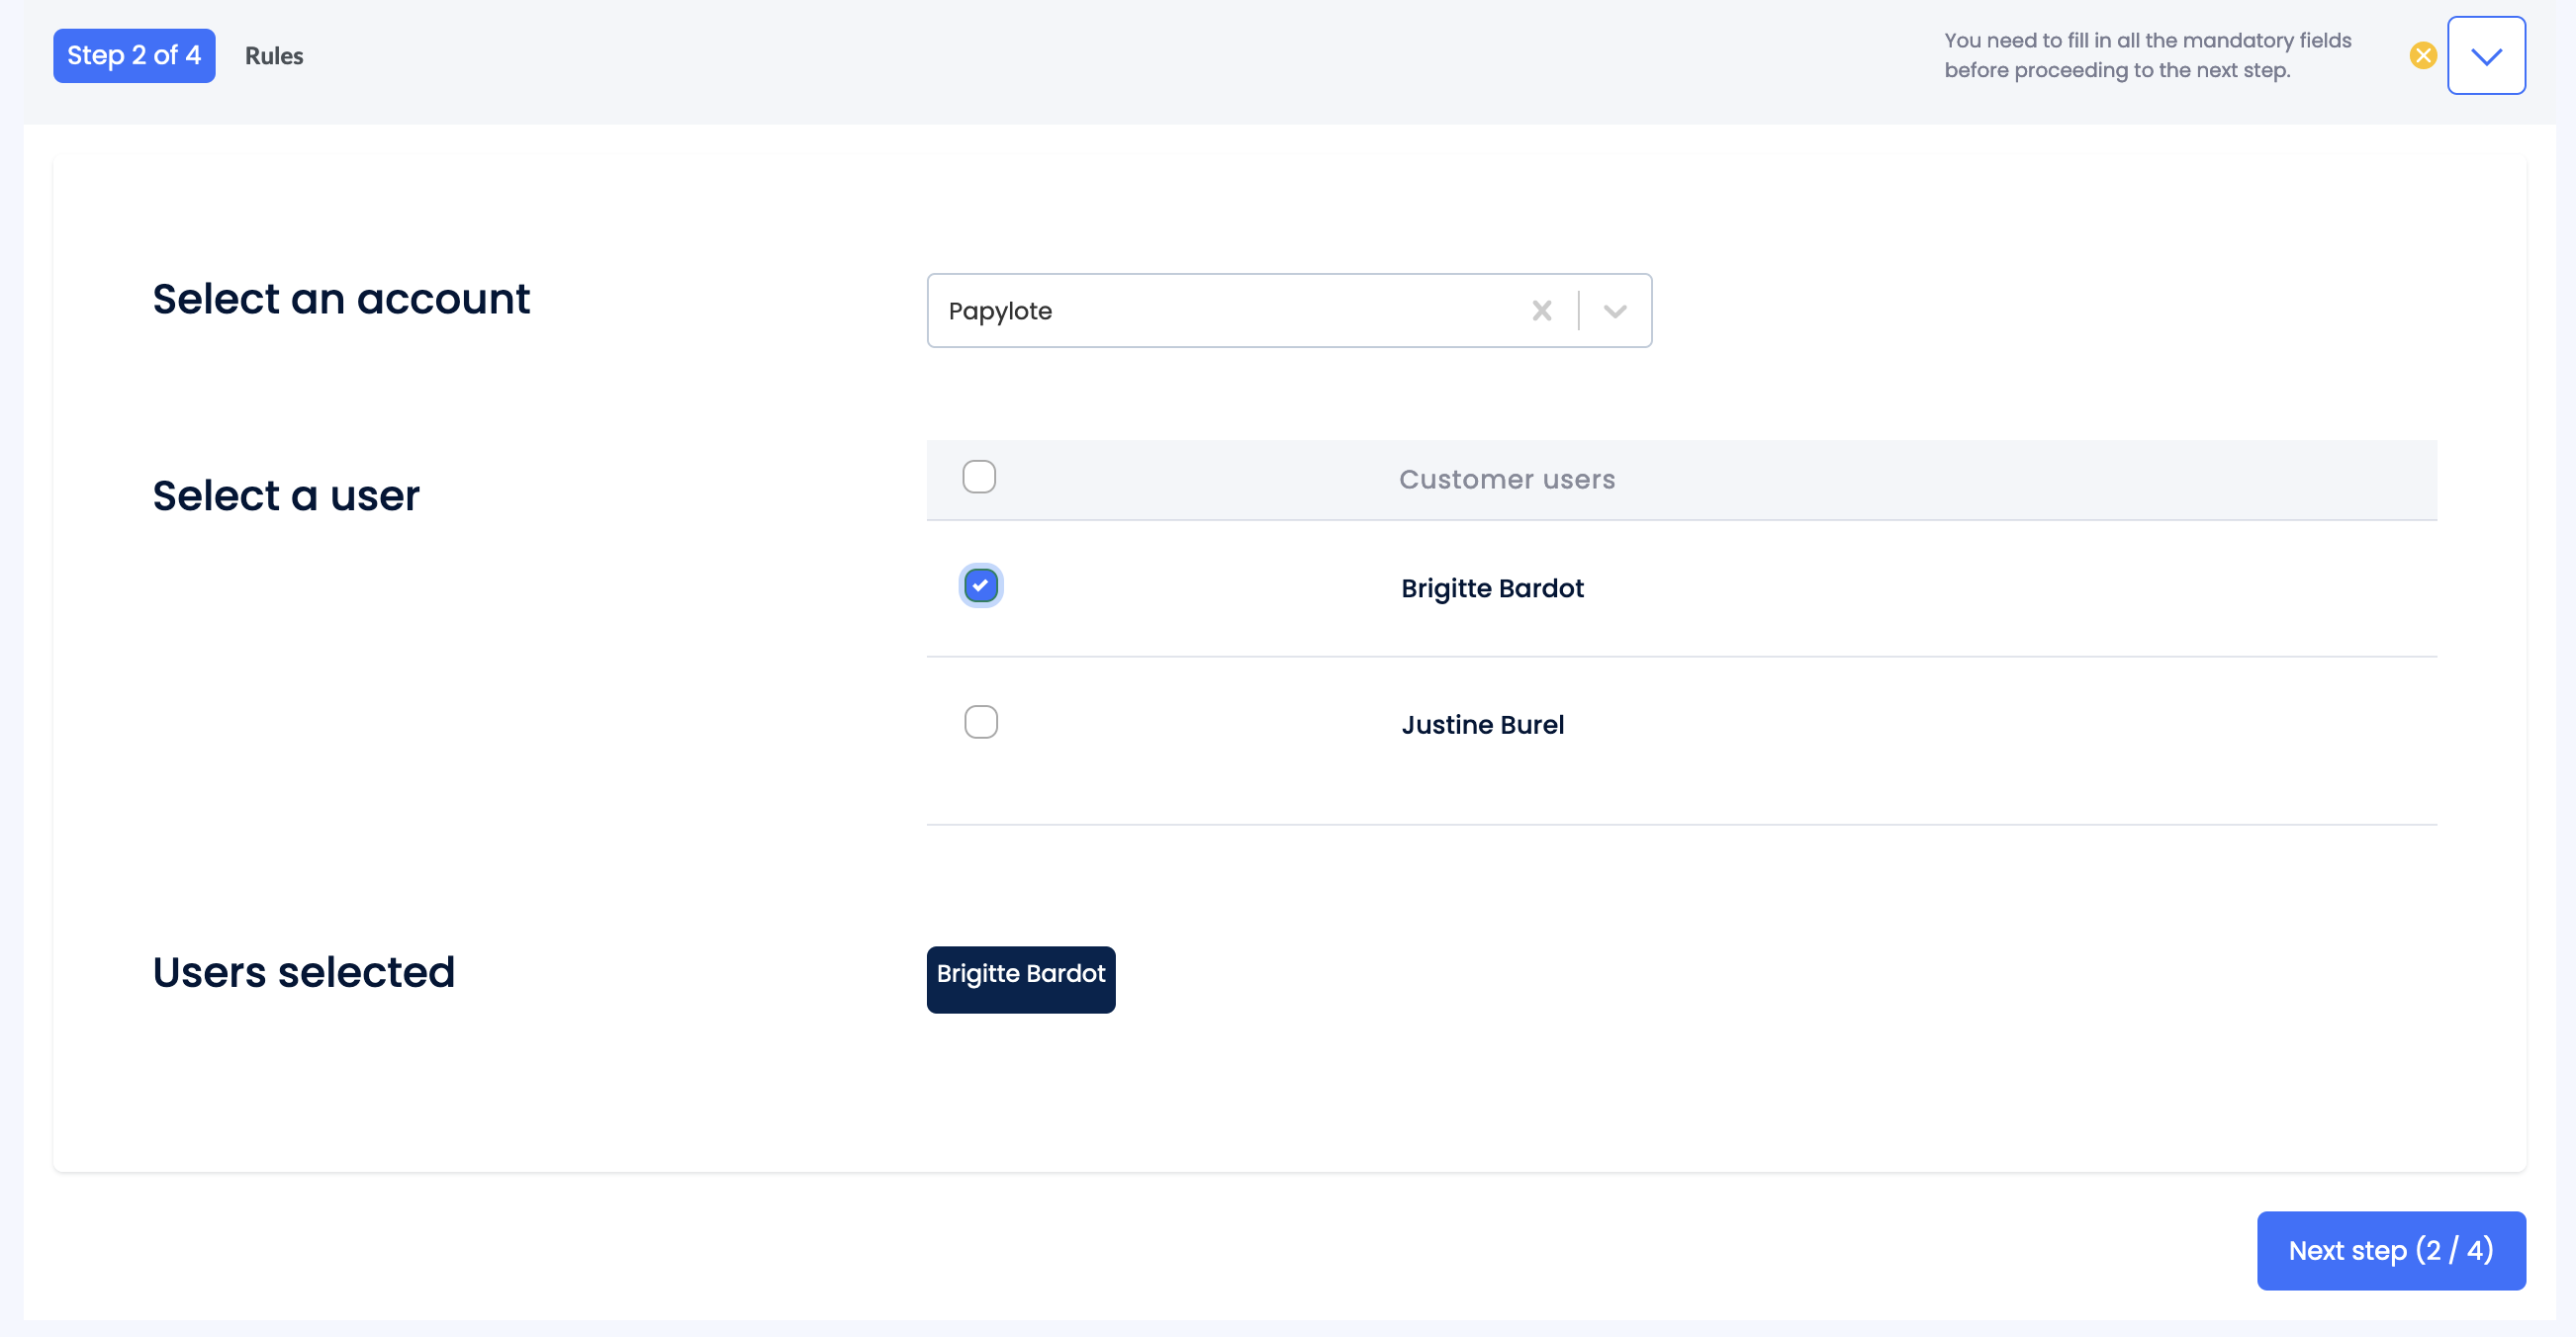
Click Next step.
Fill in the Approvals: select up to two "super" users which will review the user's purchases.
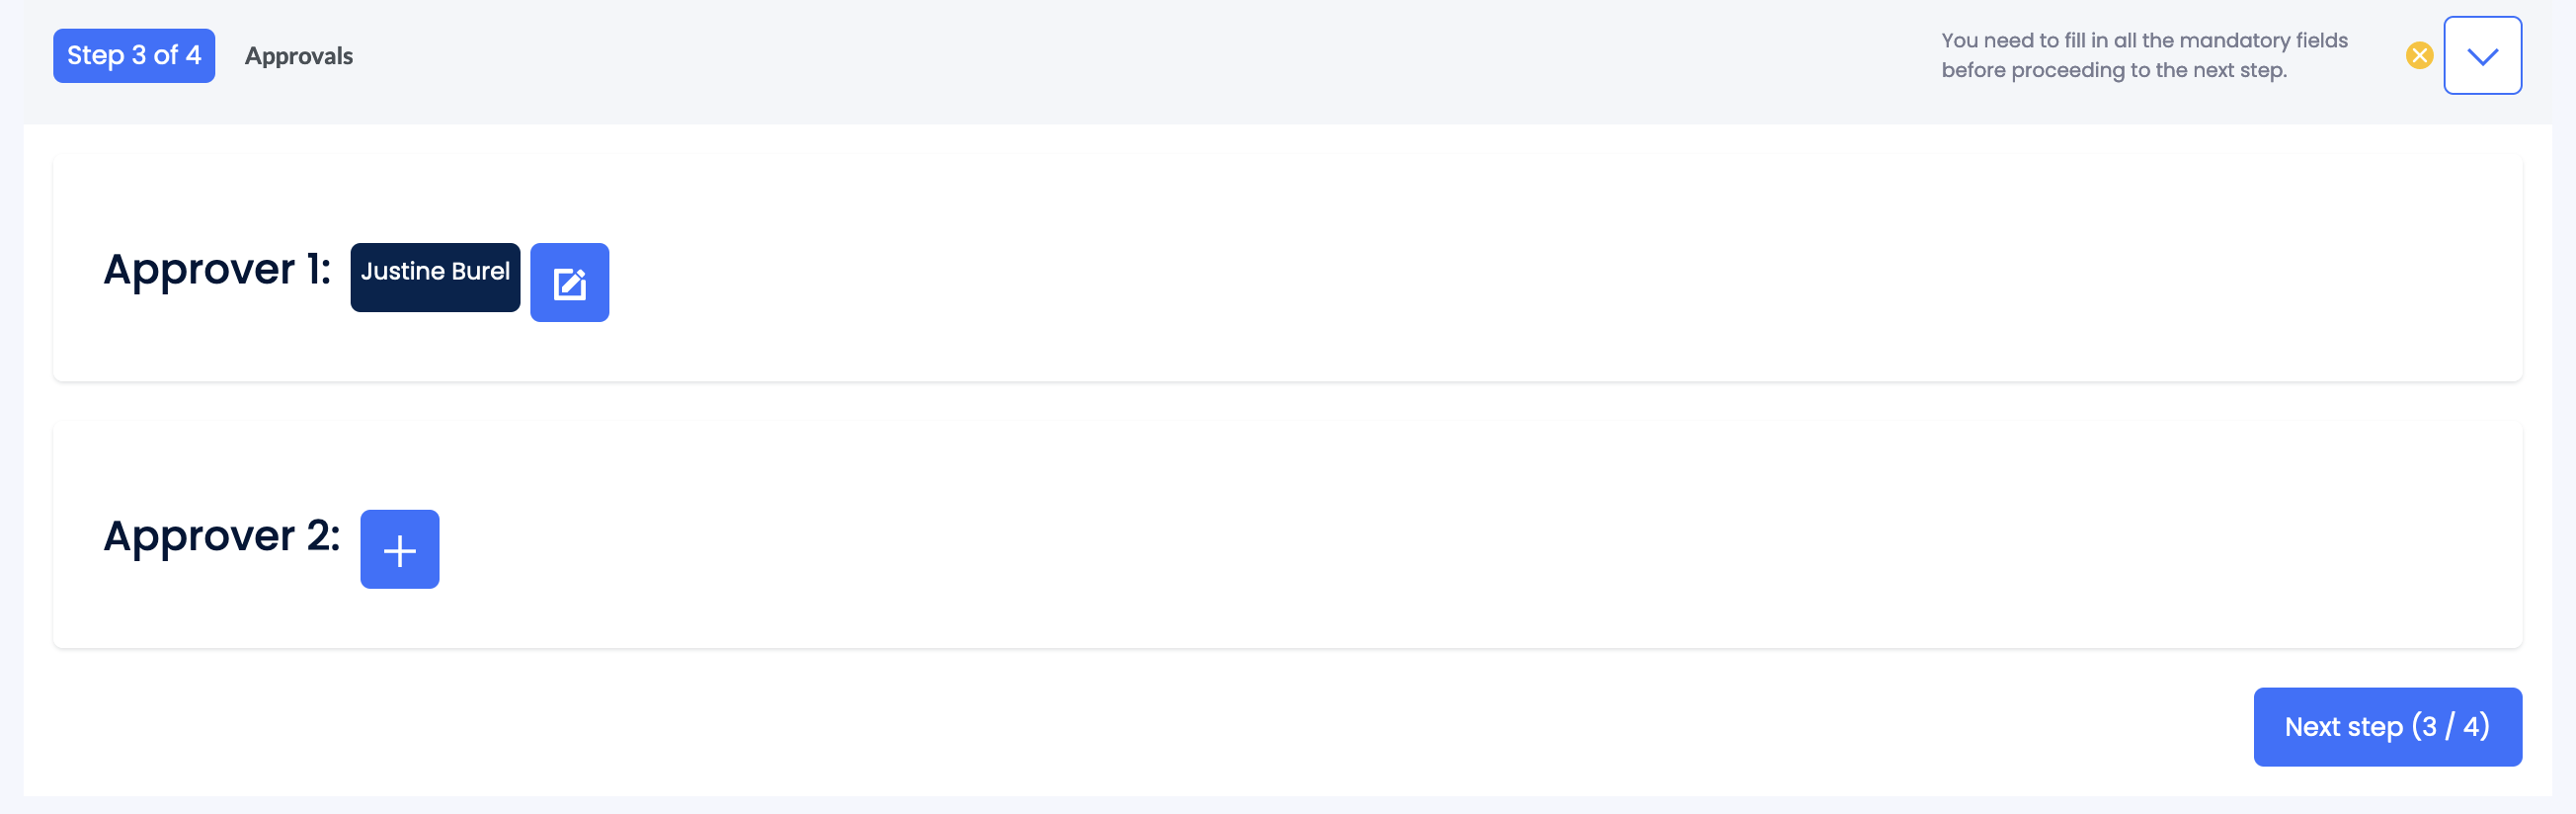
Click Next step.
Review the buying policy configuration. Click Create.